
|
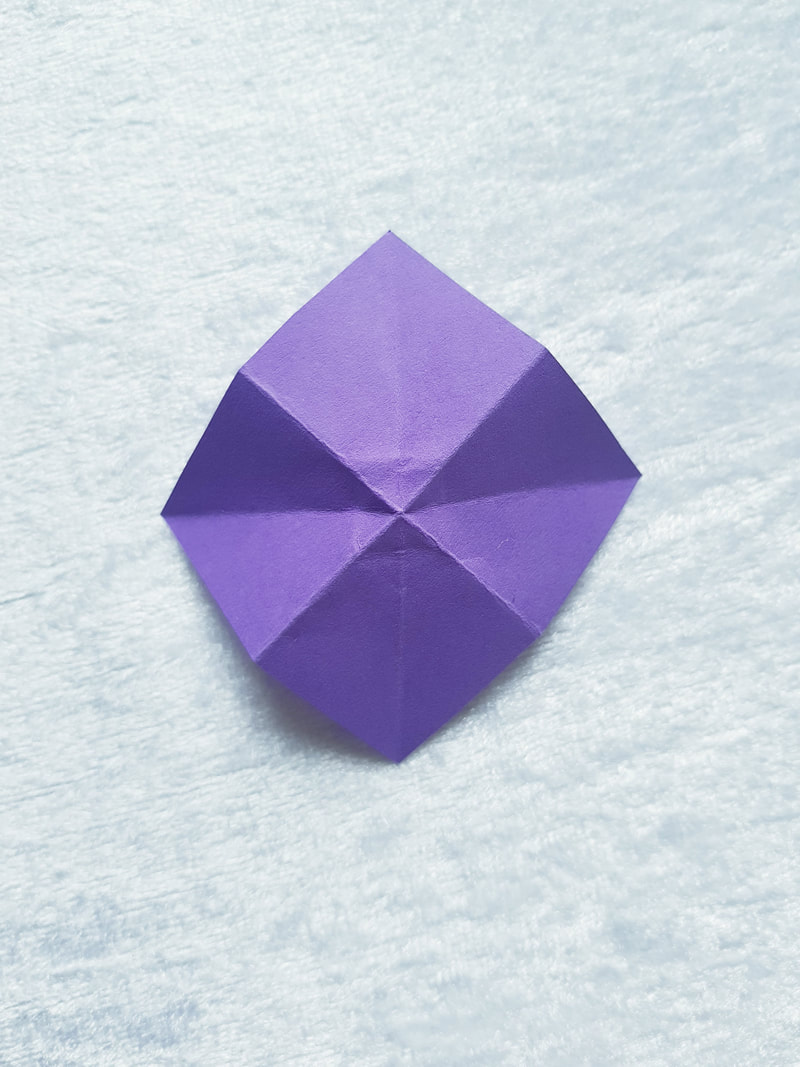
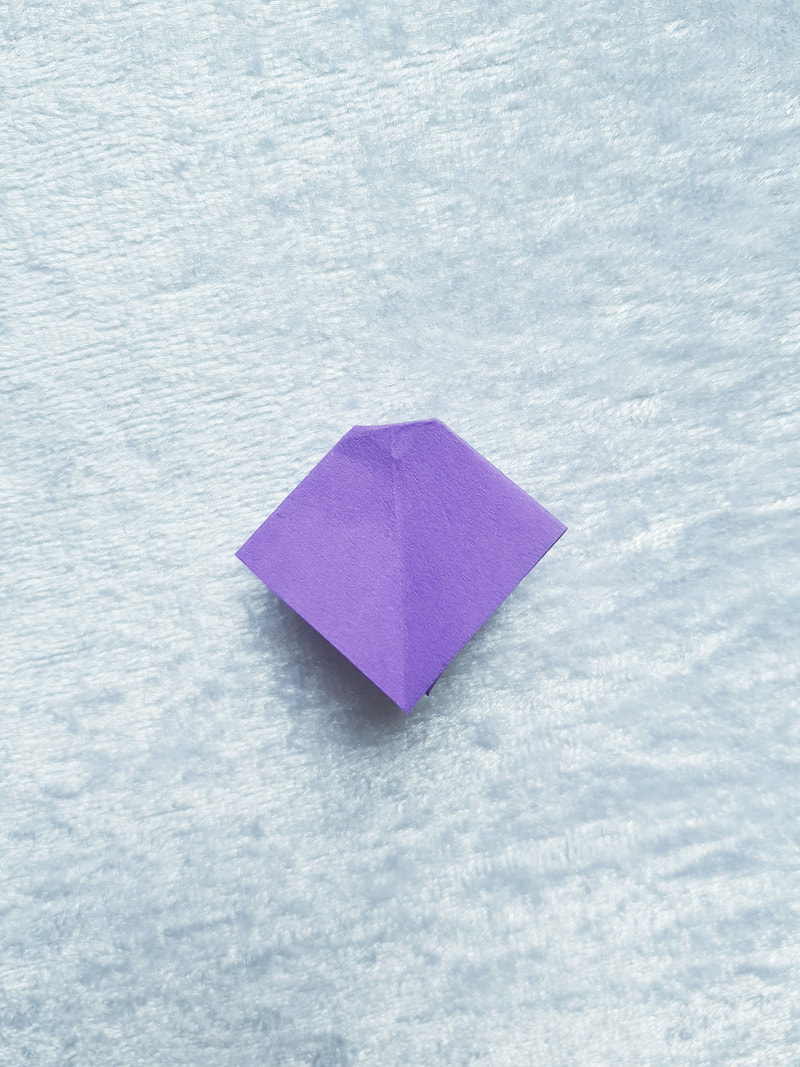
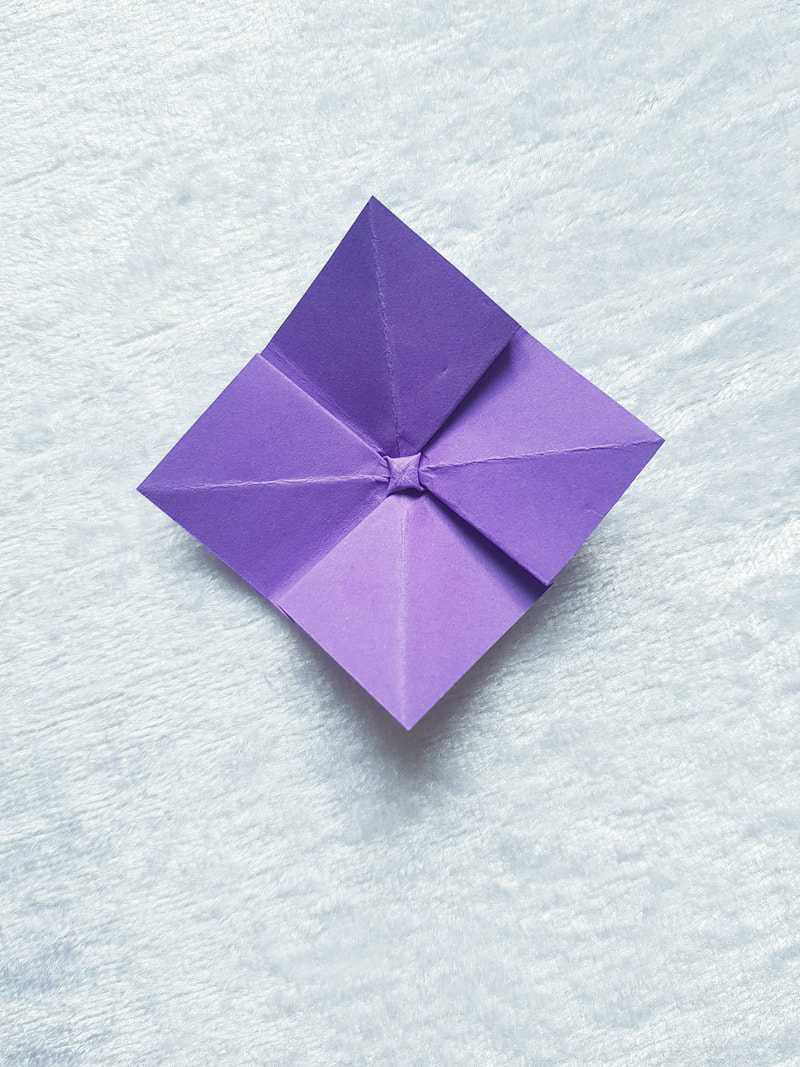
Would you like to learn how to make this beautiful hydrangea flower with leaves? Hydrangea is a popular flower in many peoples garden, so why not make one out of paper? It's definitely not hard to make as you would think. I love how you can put them ready on a desk as decoration. Best of all is that both the leaf base and the flowers are origami, that means that there is so cutting here. Are you ready to learn how to do it? Lets begin. 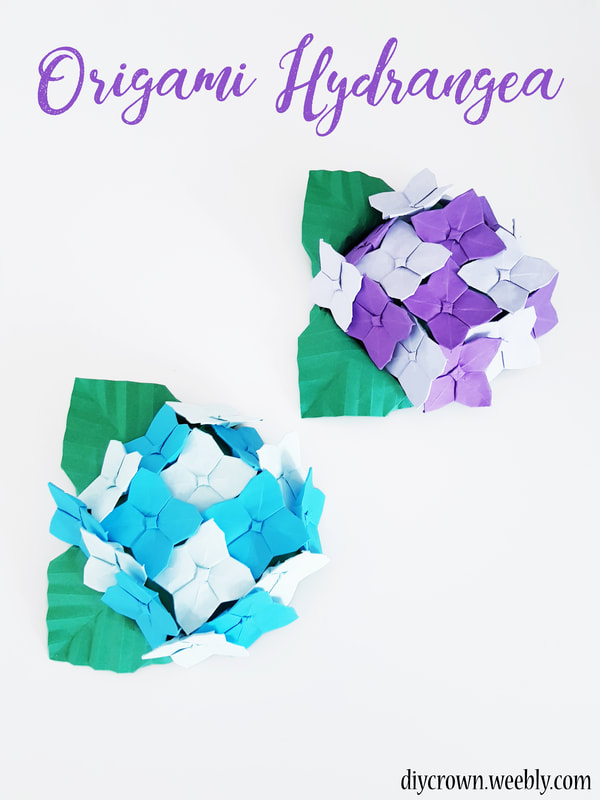 You will need: - 16 pieces of square paper for the flowers (dimensions 3, 75 x 3, 75 cm). Or you can cut a 10 cm origami paper into four squares. - One paper of square paper in green color, dimensions 15 x 15 cm. - Glue 1. We'll begin with the flowers. Fold the paper diagonally both directions. Turn the paper over and fold in half both directions. 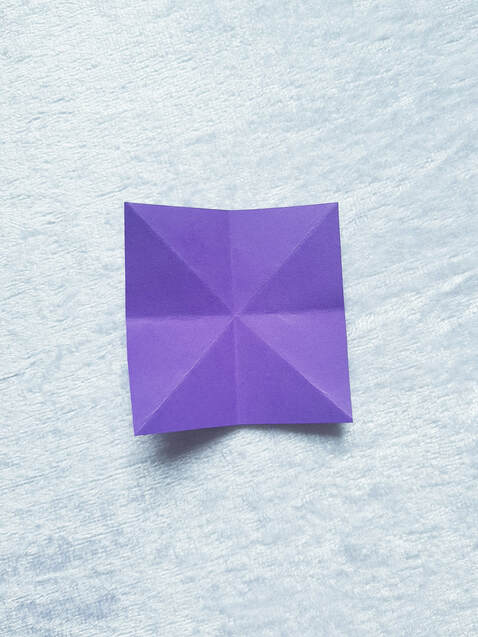 2. Bring the horizontal diagonal flaps to the centre so the model forms like a square and flatten. 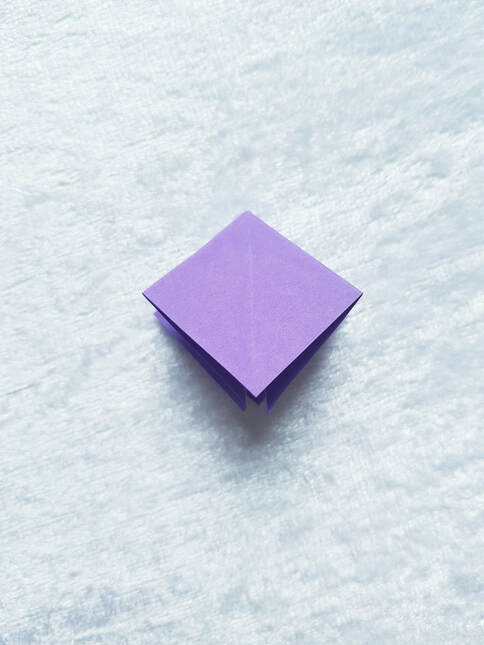 3. Fold down the upper corner a bit. Then unfold. 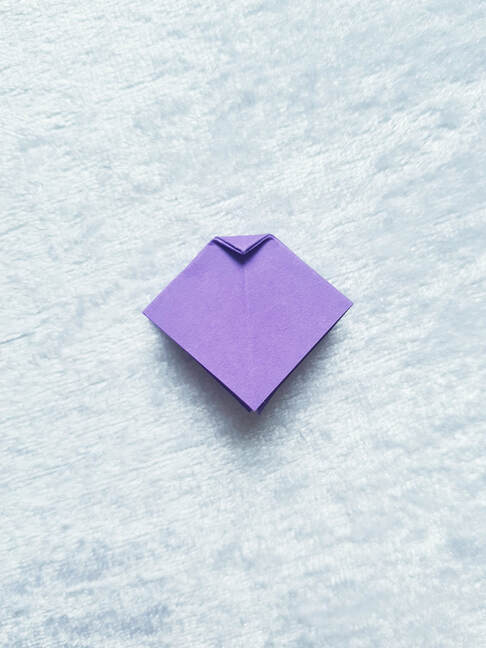 4. Mountain fold on the creases that were made in the previous step.
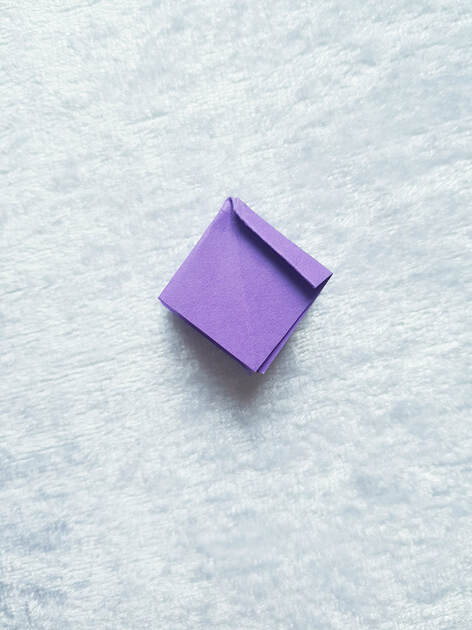
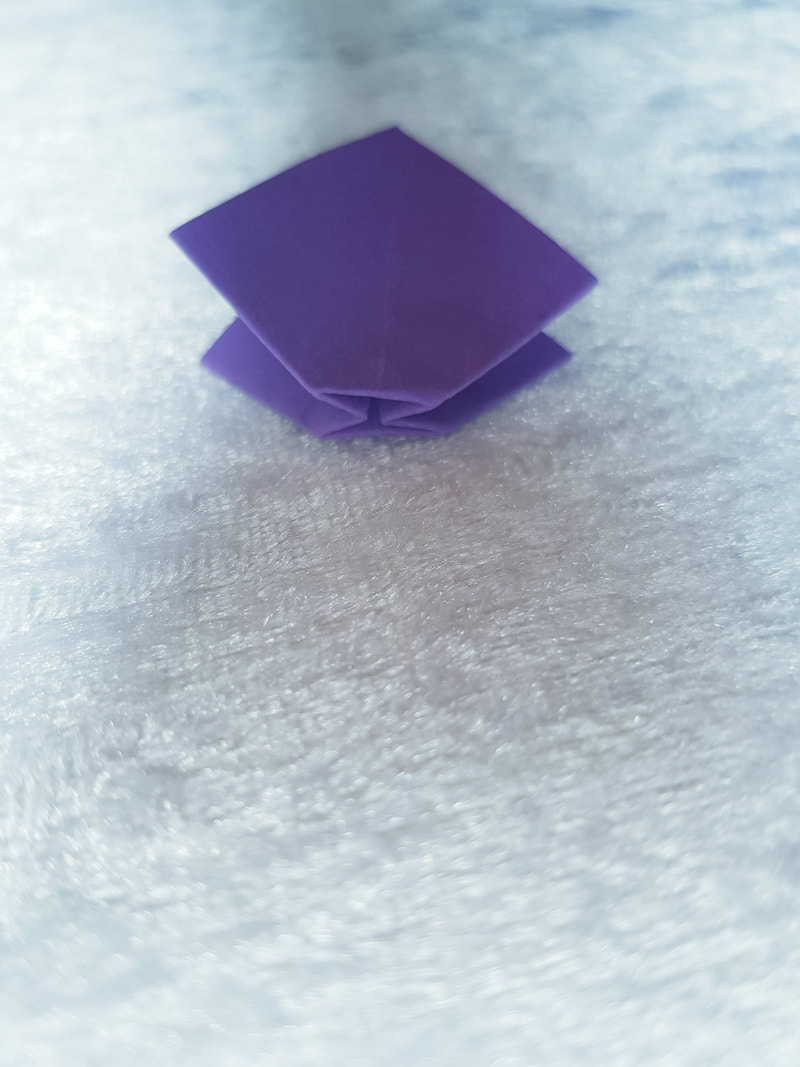
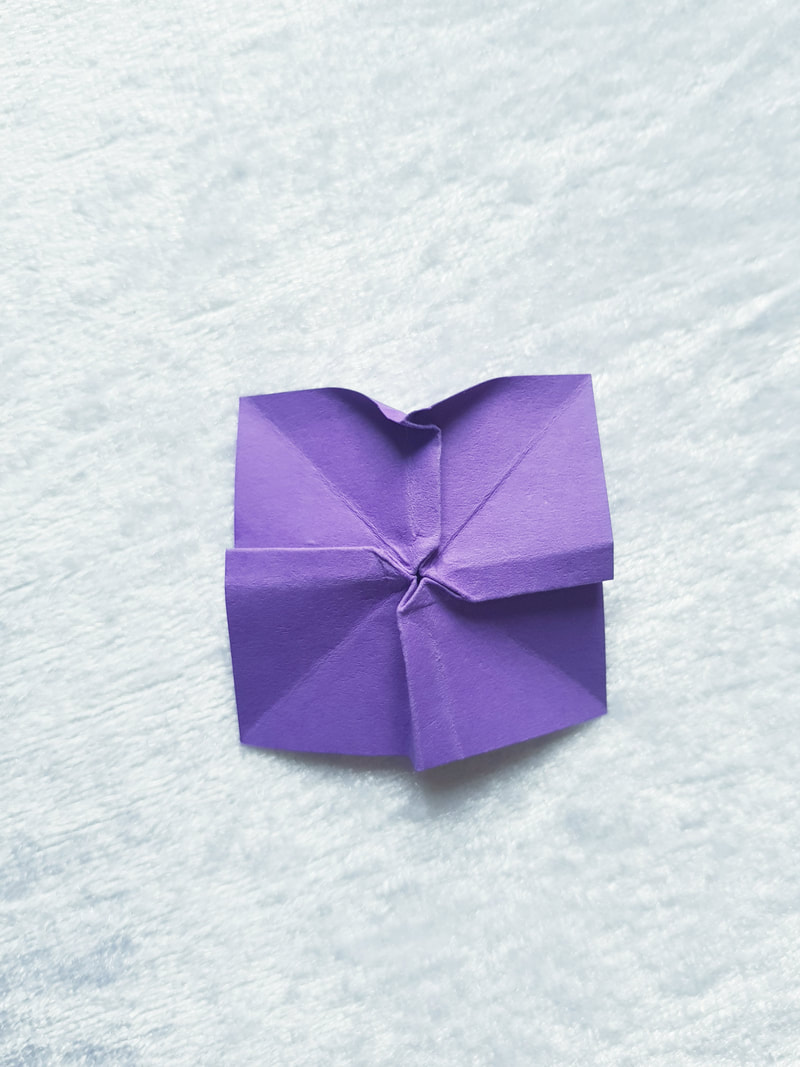
5. Fold it in by pushing the sides inwards.
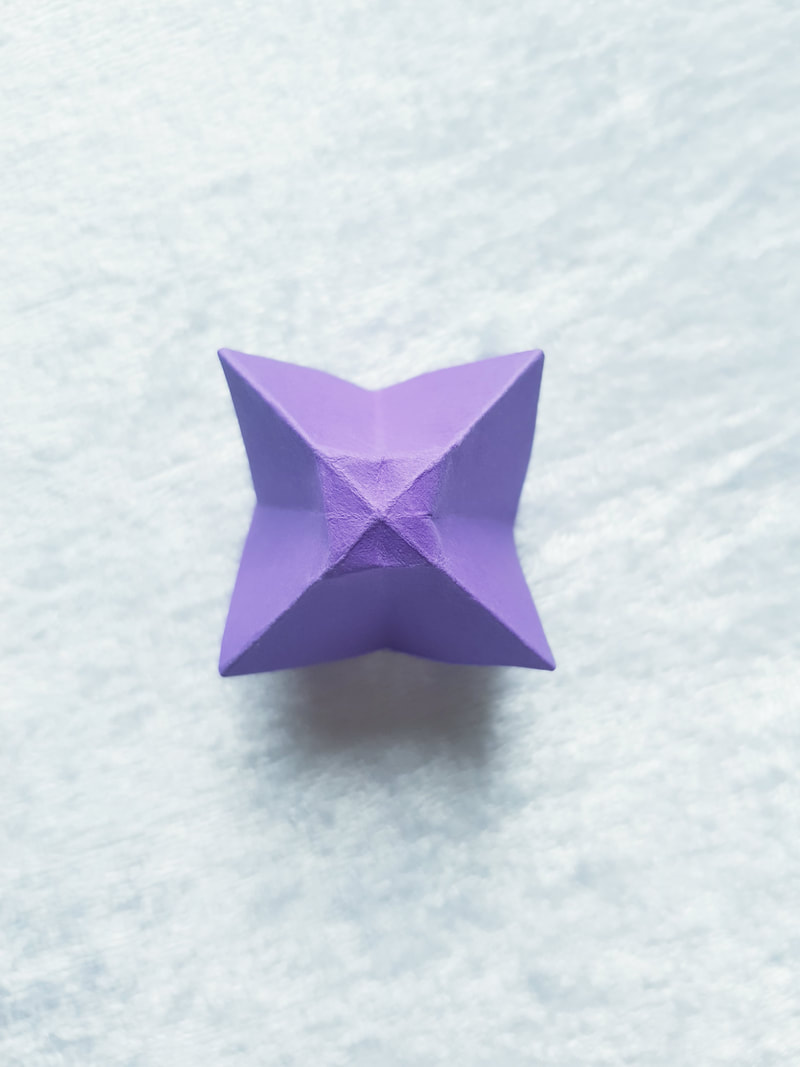
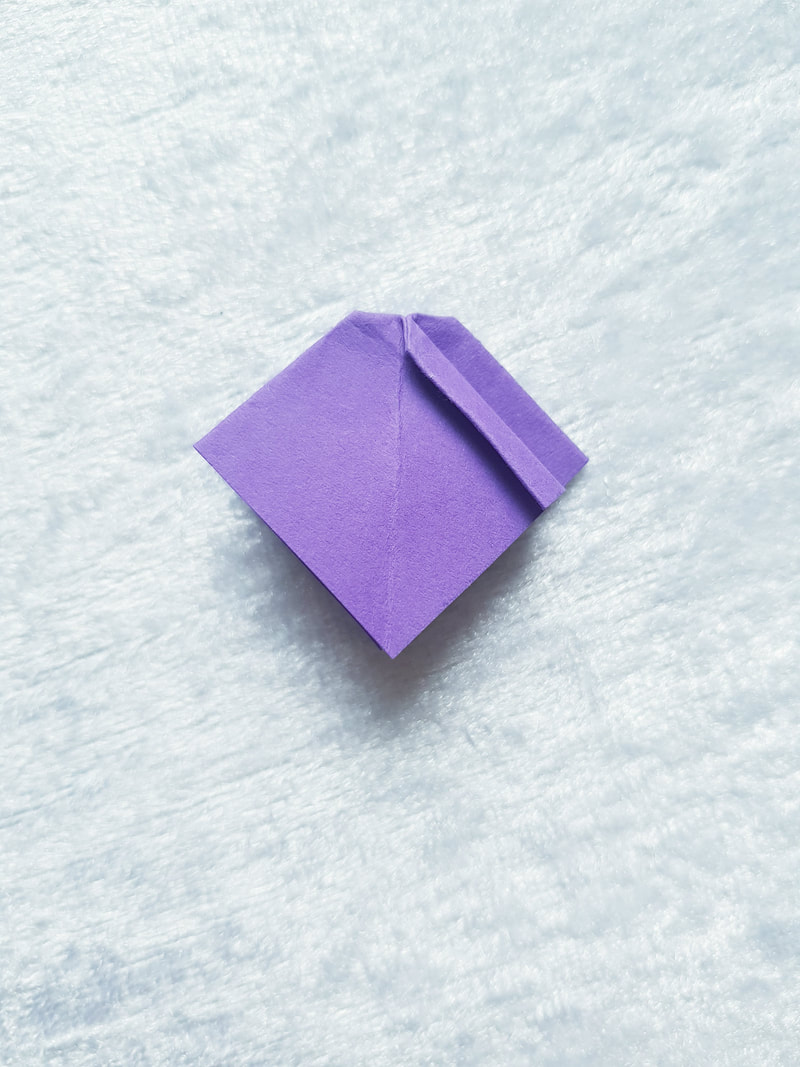
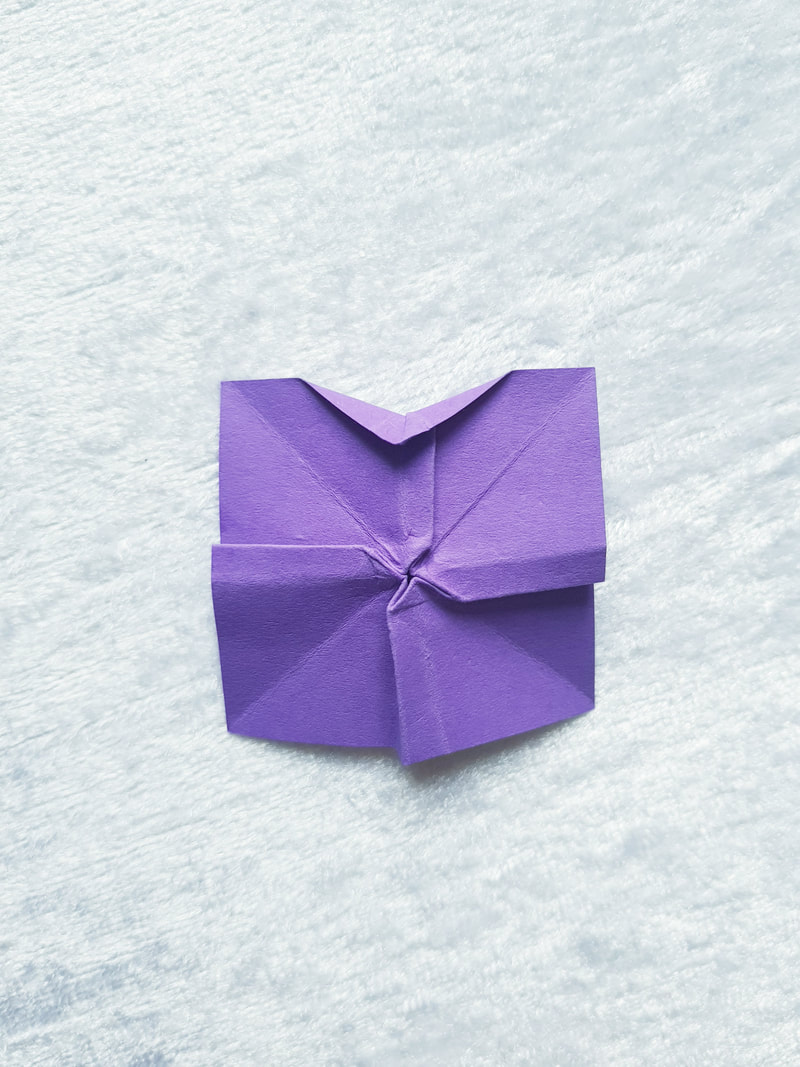
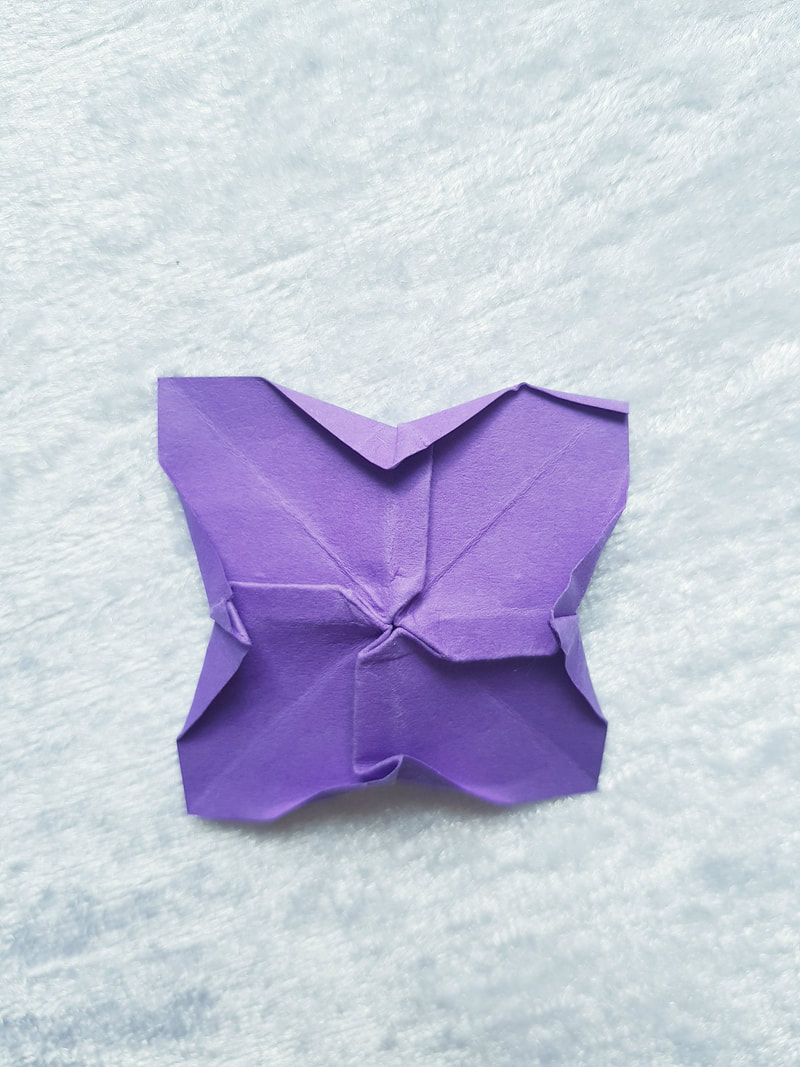
6. Fold the right edge towards the middle line. Then move the left flap to the right and fold the right edge. Repeat this process on the backside.
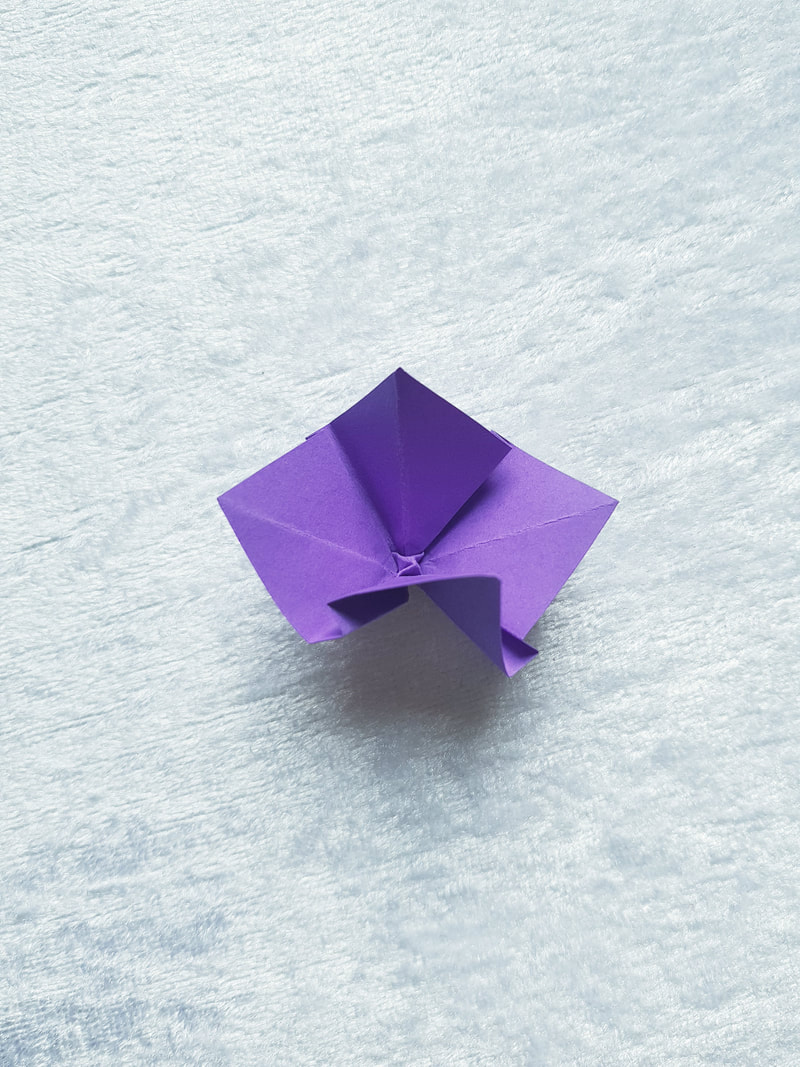
 7. Pull out all four petals and flatten. Then turn the model over.
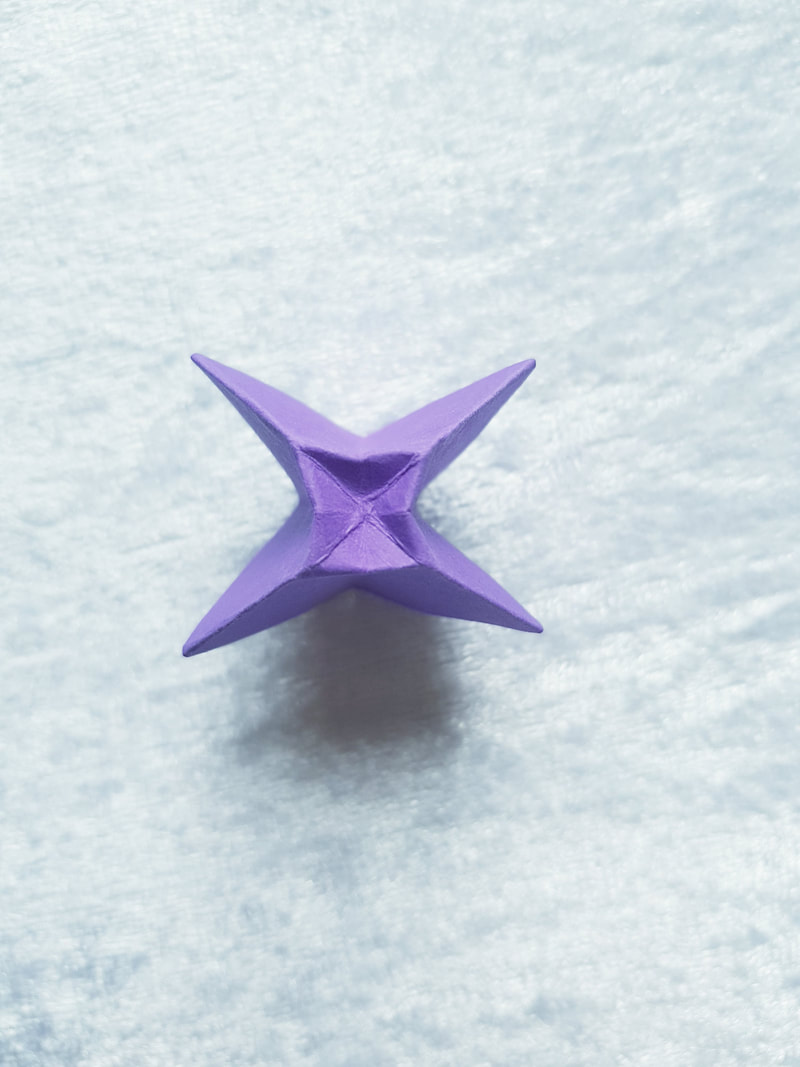
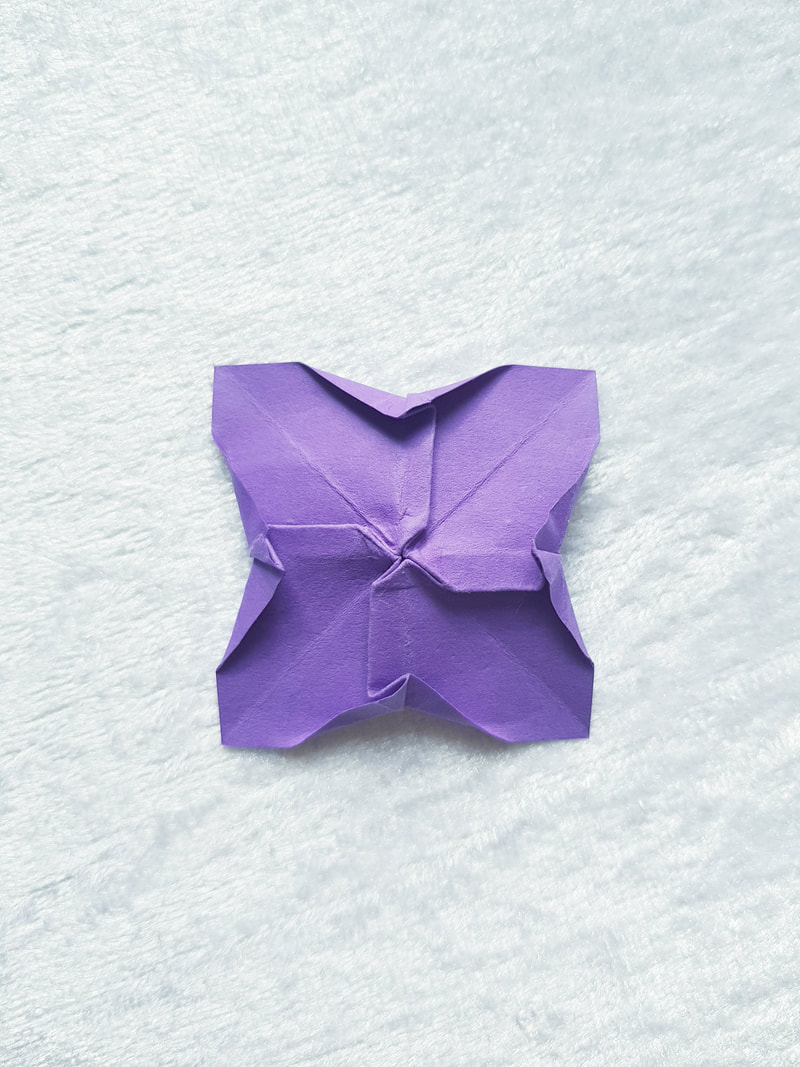
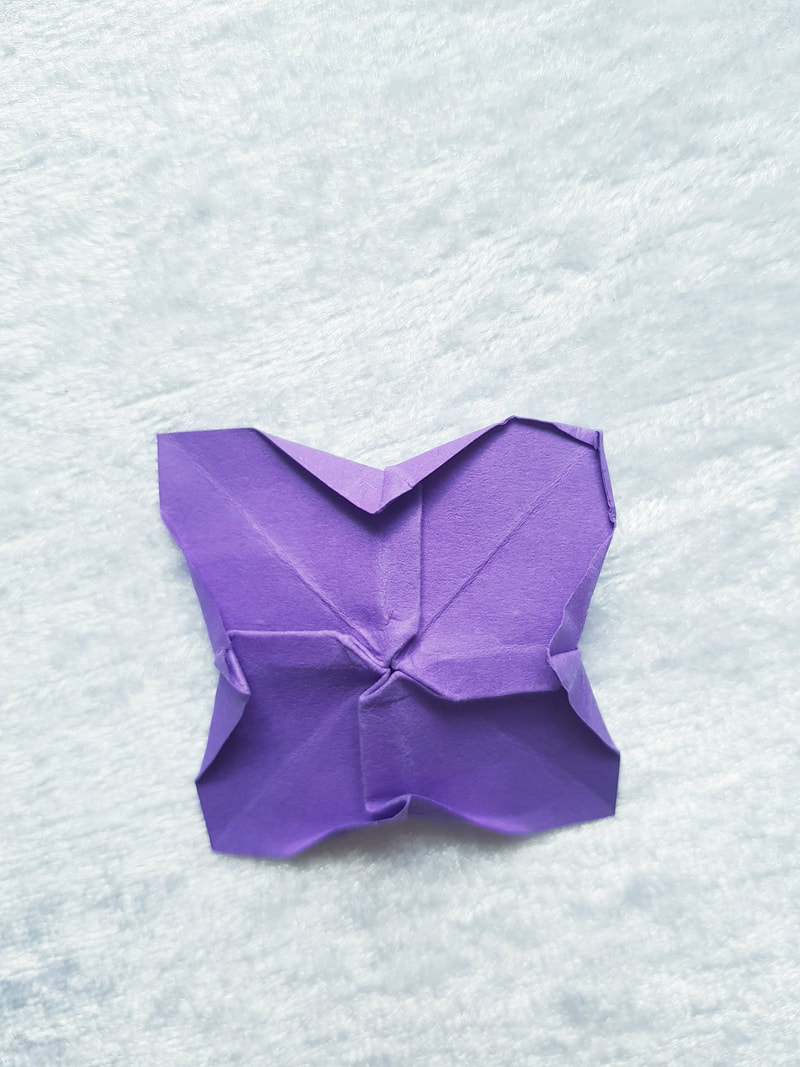
8. Fold it down like in the pictures below.
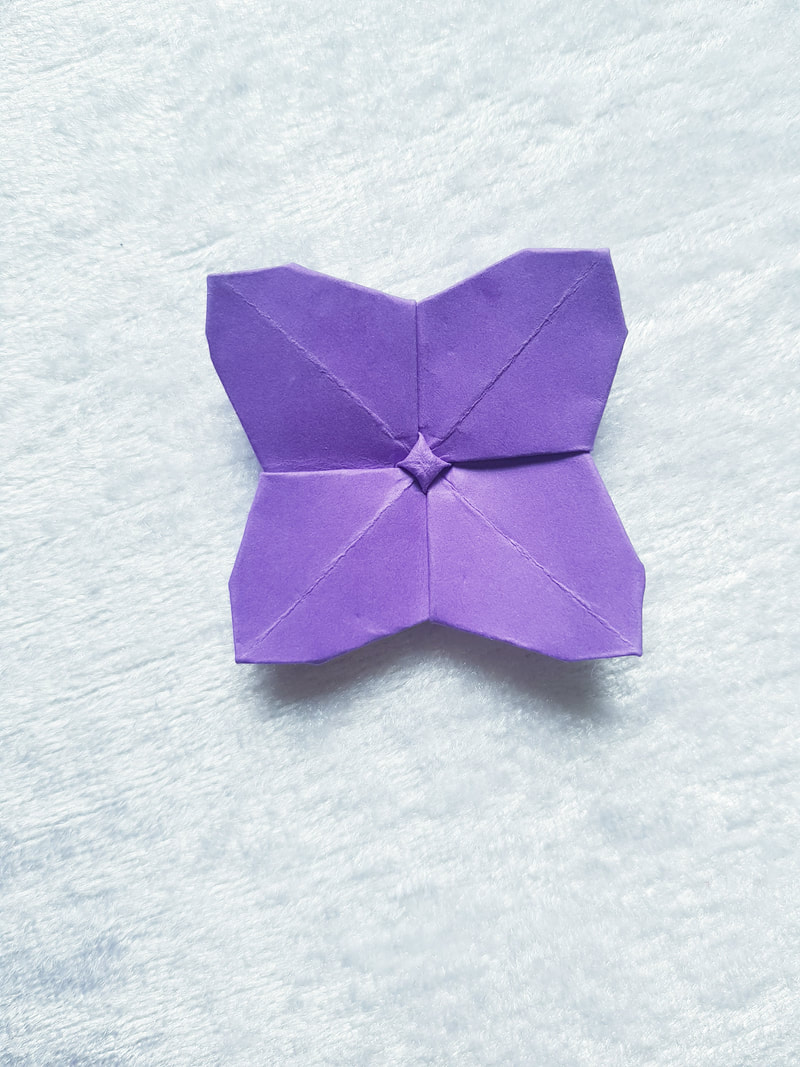
9. Fold the corners to shape the petals.
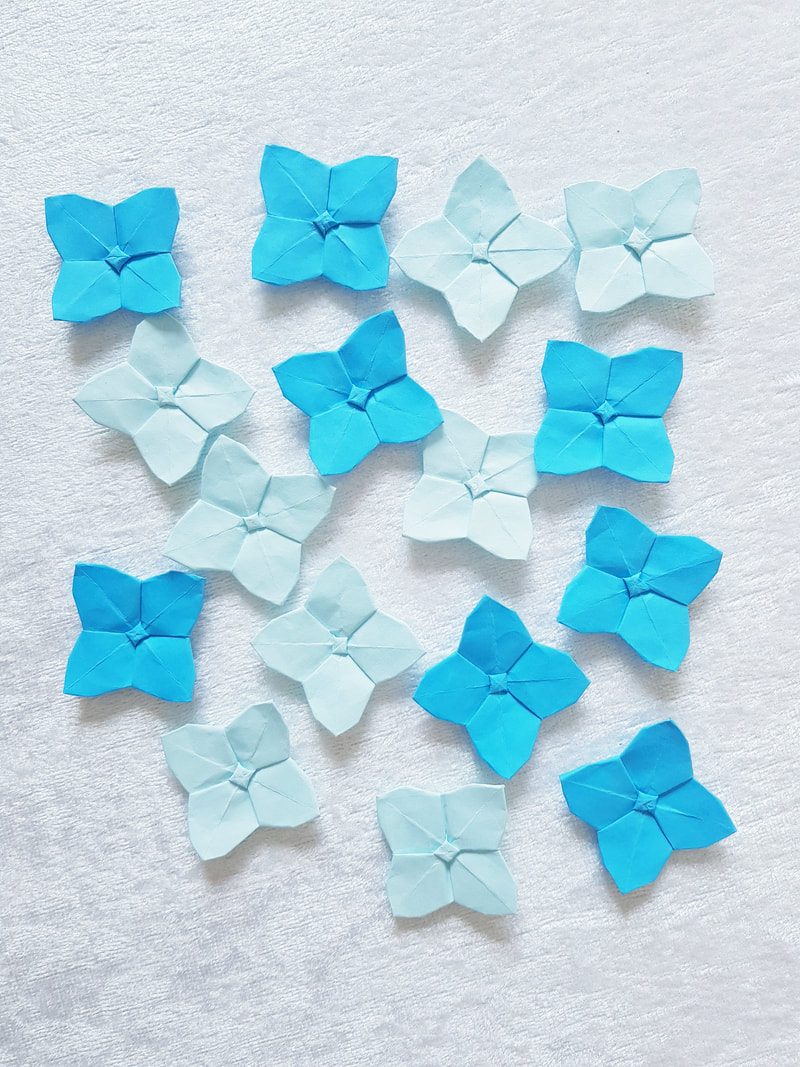
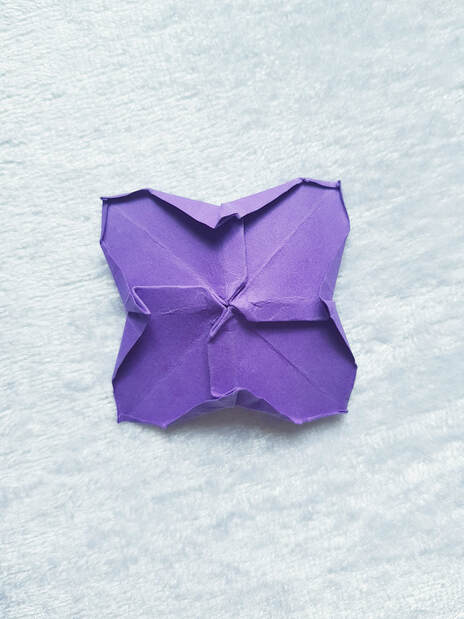 The flower is now completed. Make 15 more of these.
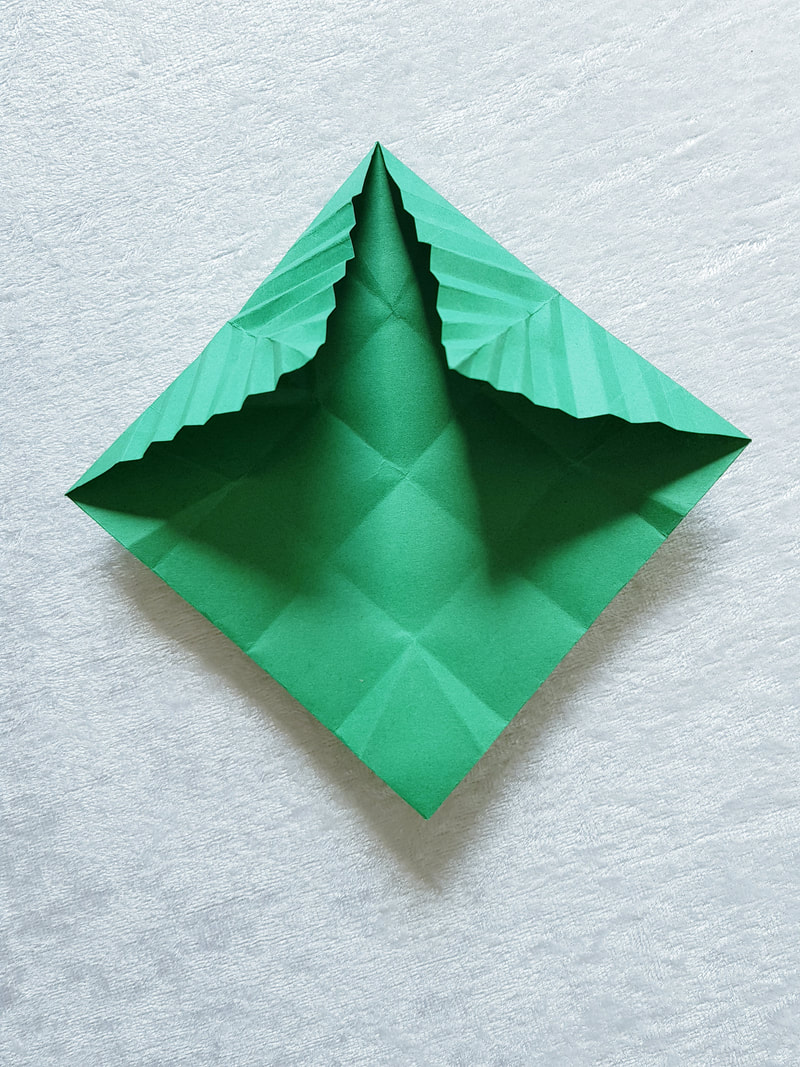
1. To make the base with leaves, fold the paper diagonally both directions and unfold. 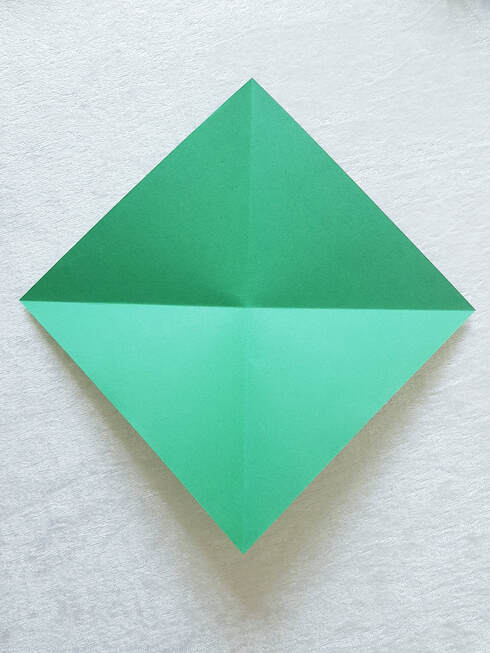 2. Fold all four corners towards the middle and unfold.
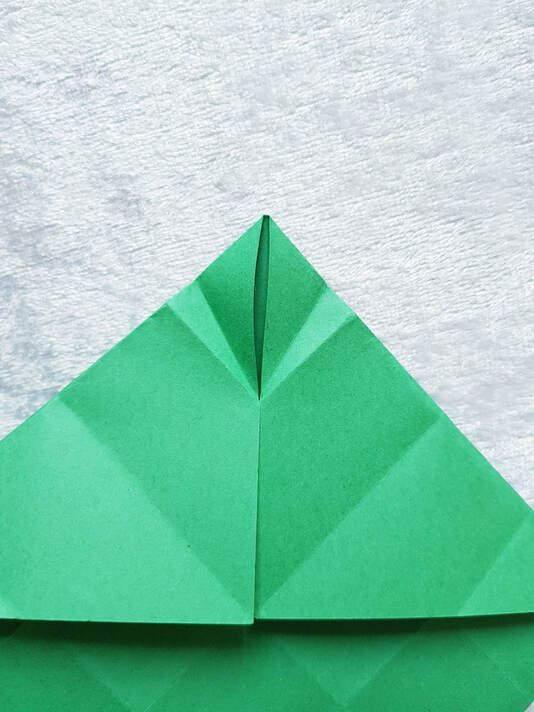
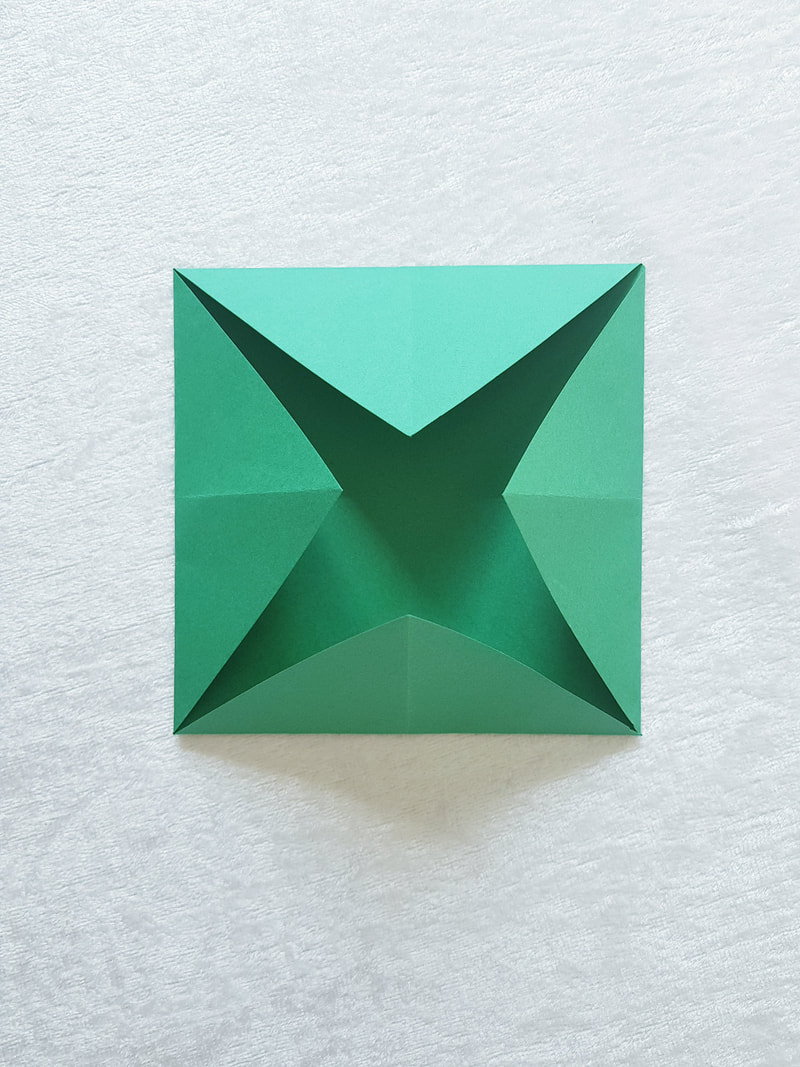
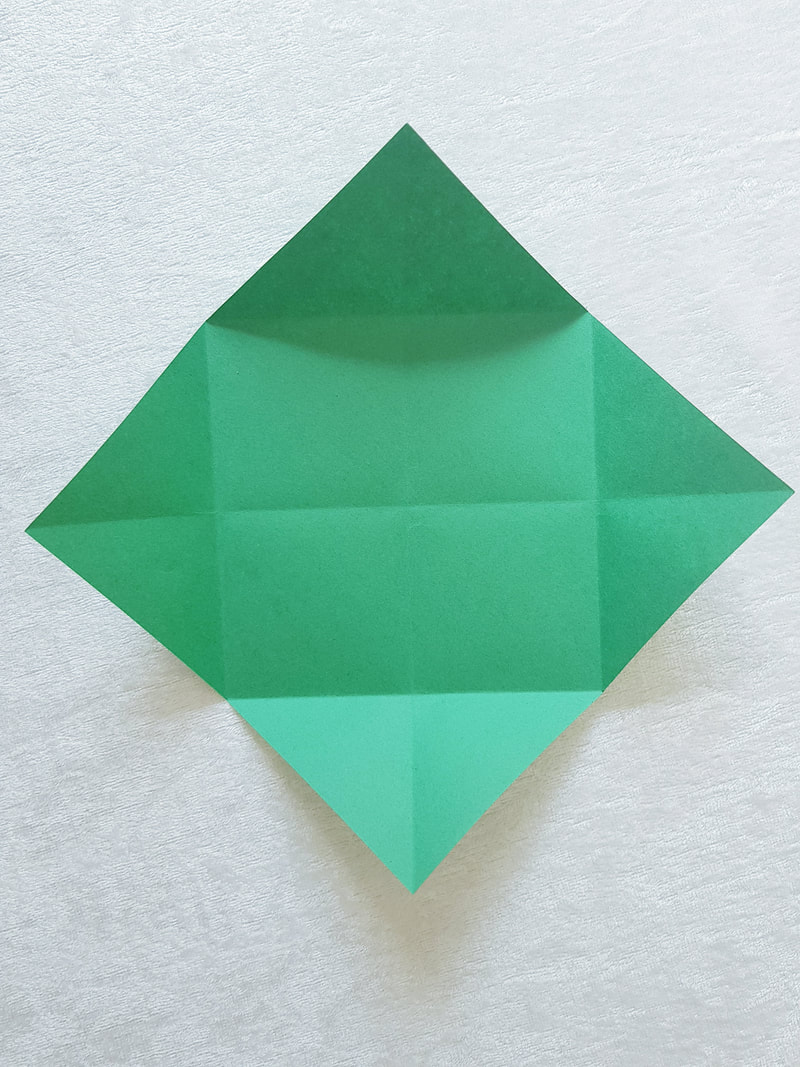
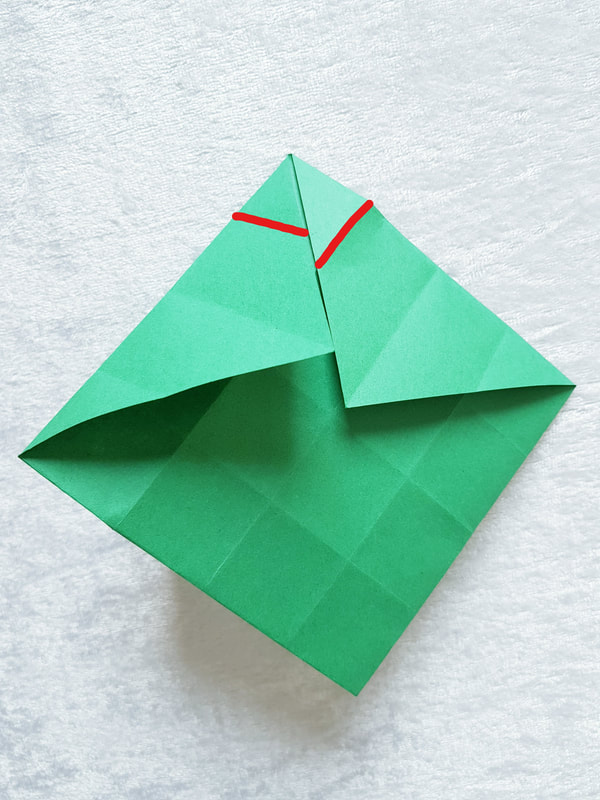
3. Fold all four the corners to the creases that were made in the previous step and unfold. 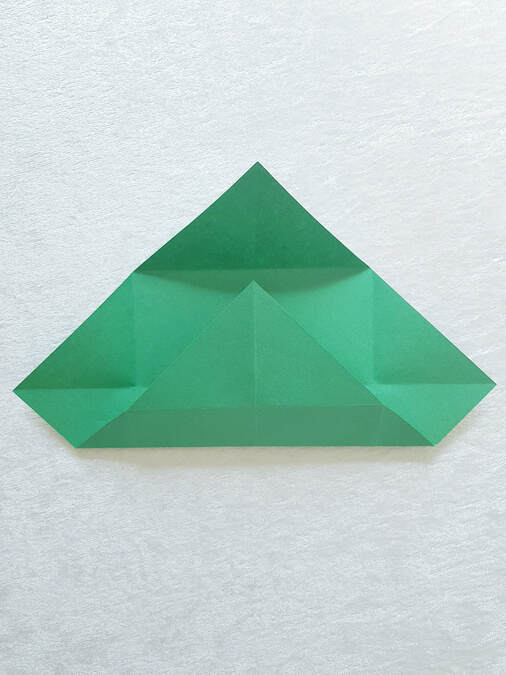 4. It should look like in the picture below. 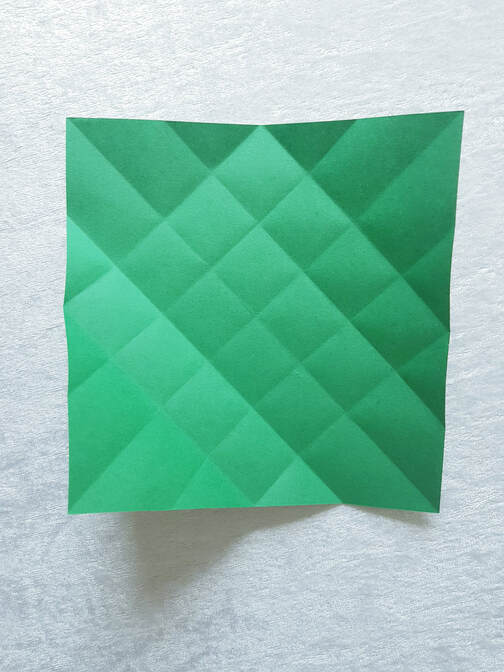 5. Fold the two corners to the existing creases. 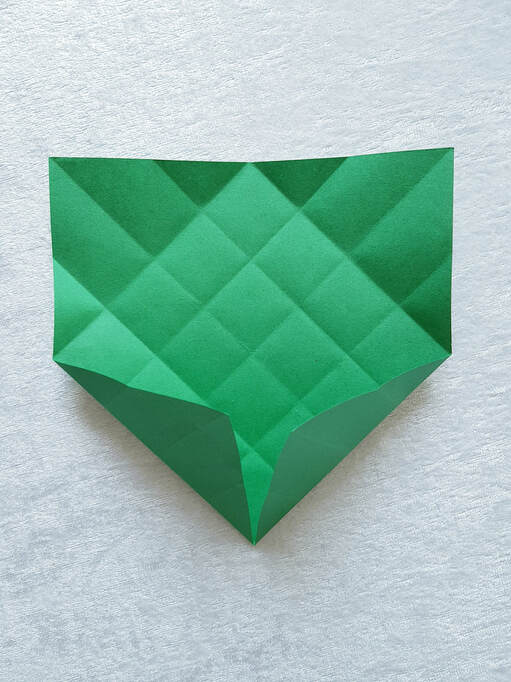 6. Turn the paper over and fold the upper two corners as you did in the previous step. 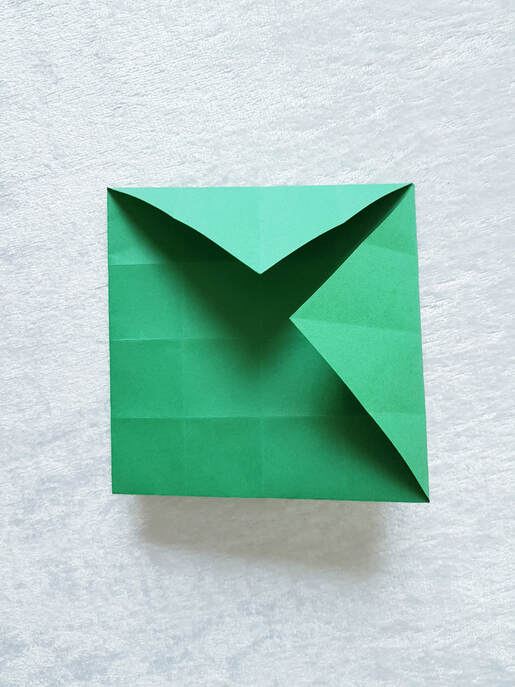 7. Pinch it where the red marks are and then fold it in a bit on both sides. It should look like in the last picture in step 7.
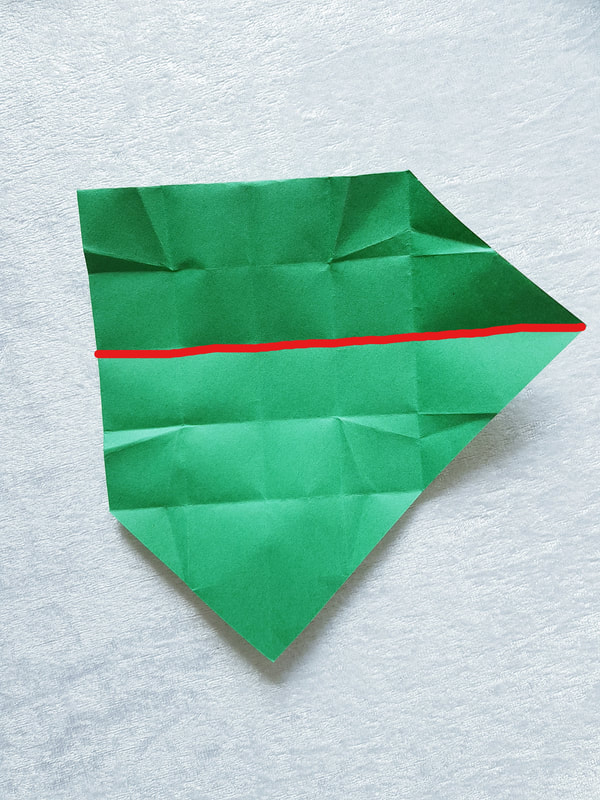
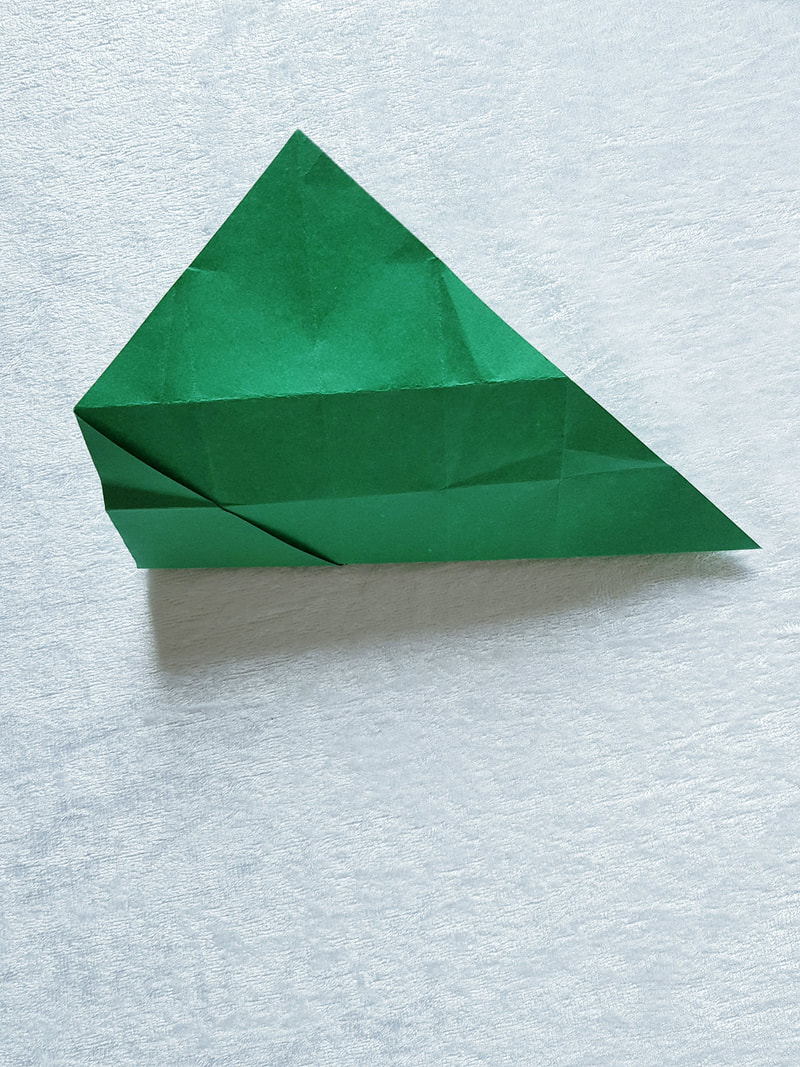
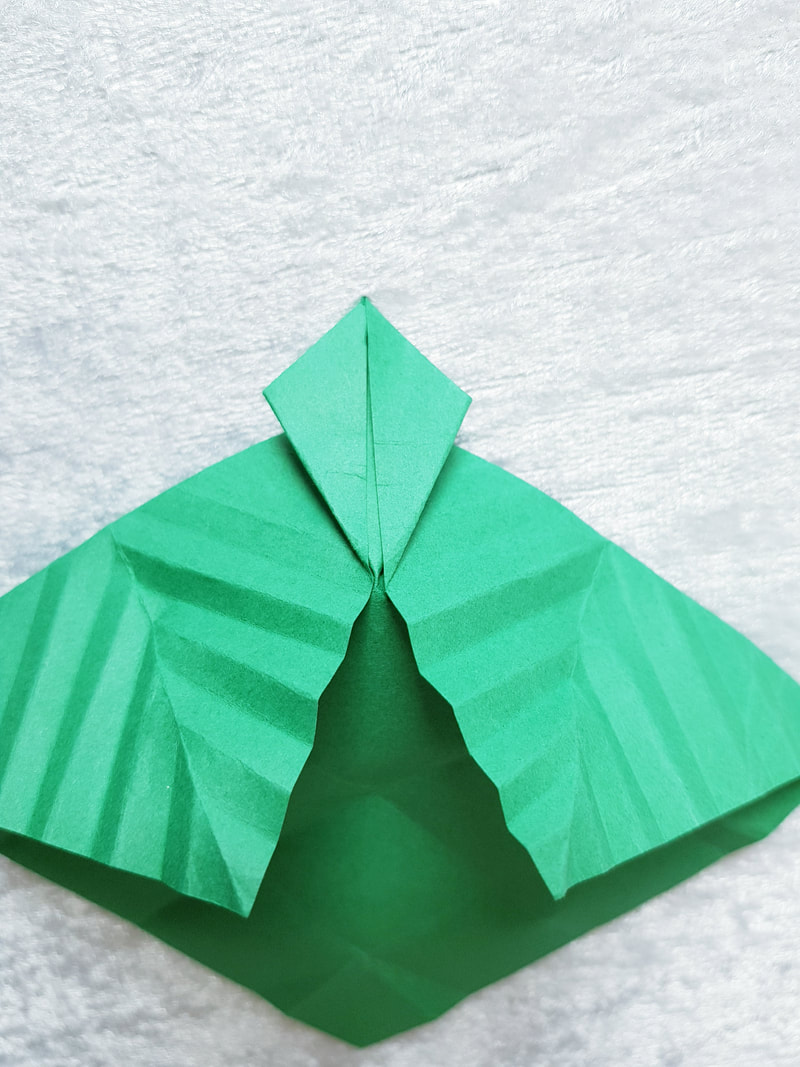
 9. Repeat for all corners. 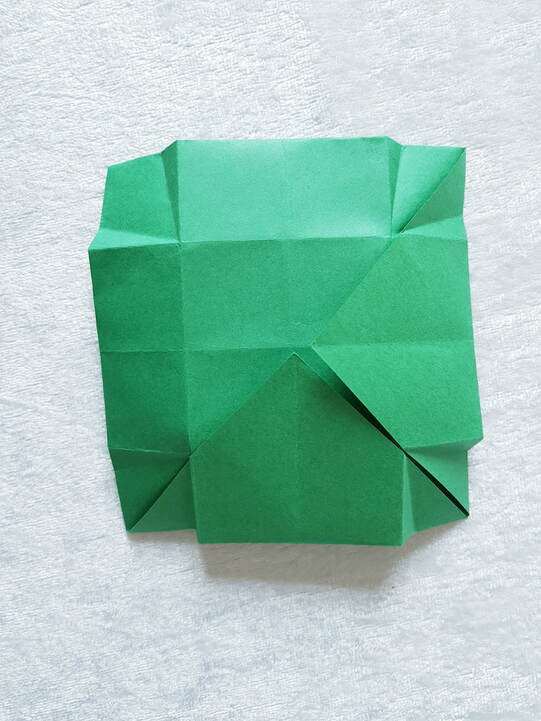 10. Turn the paper over. Open up the two folded flaps and valley fold the paper where the red mark is.
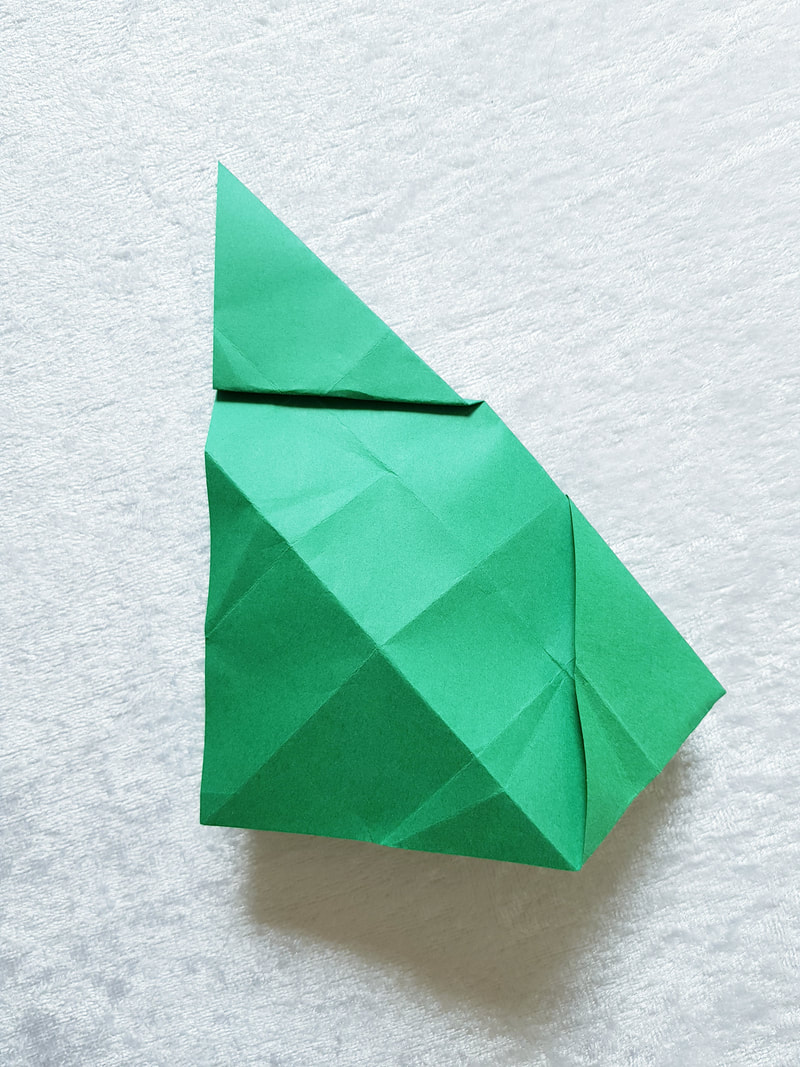
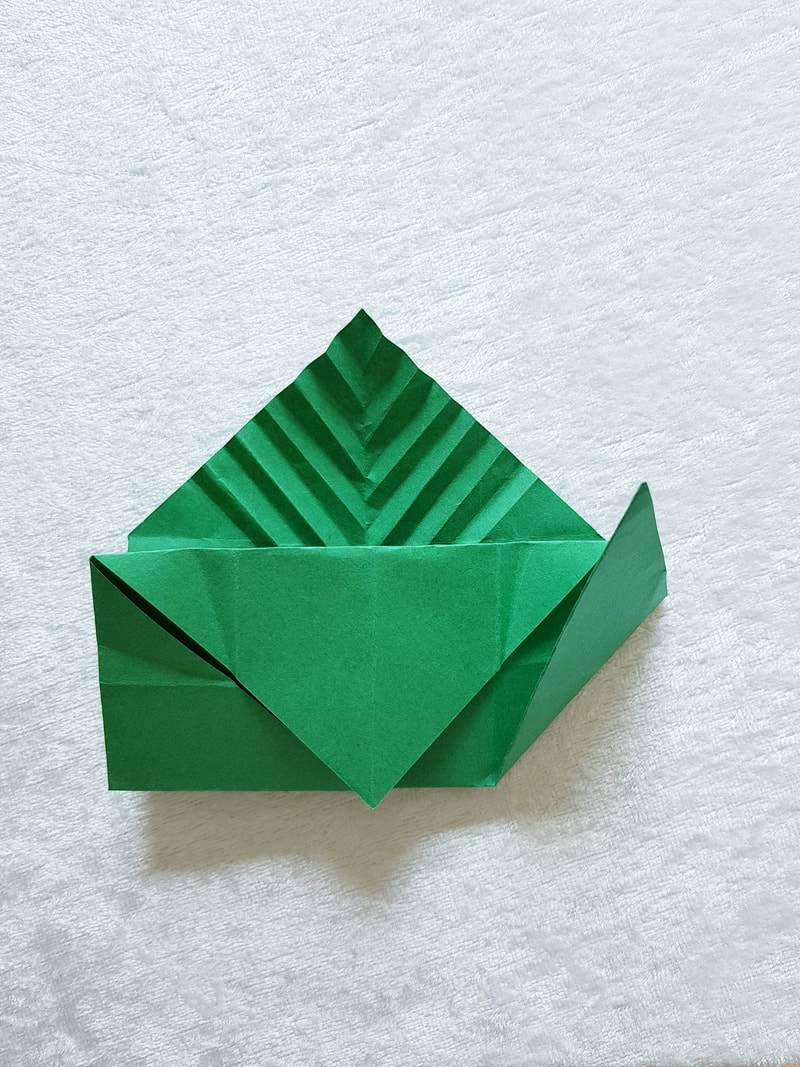
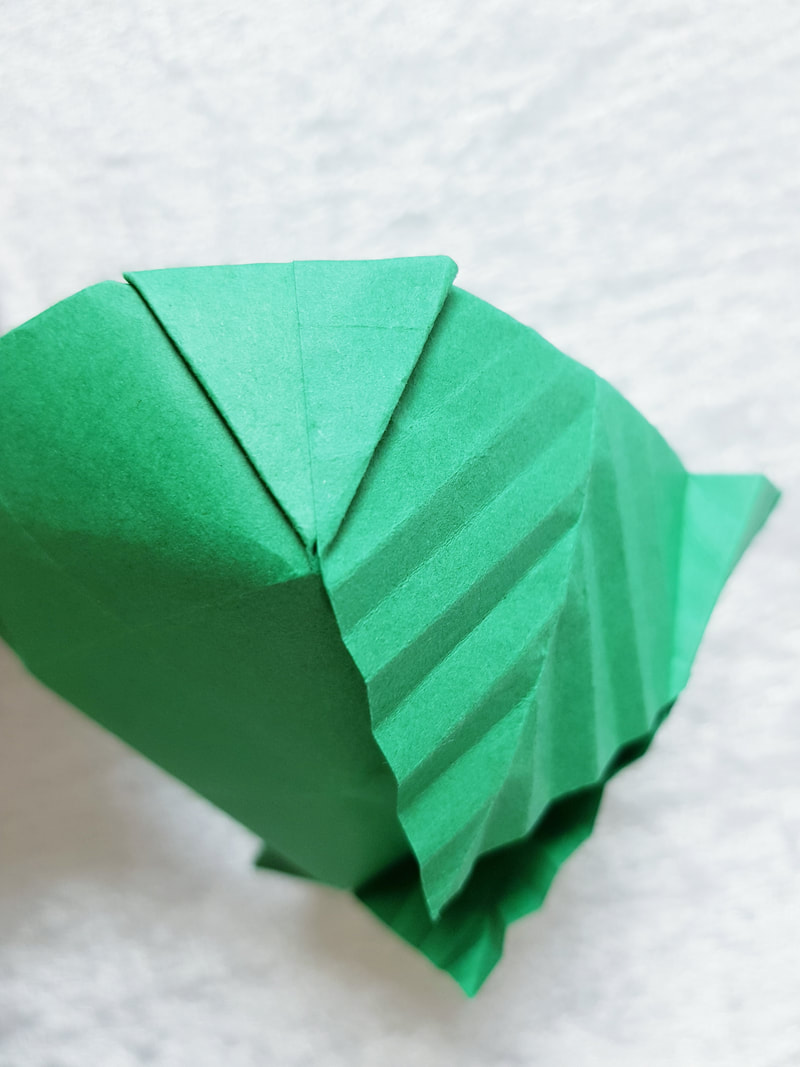
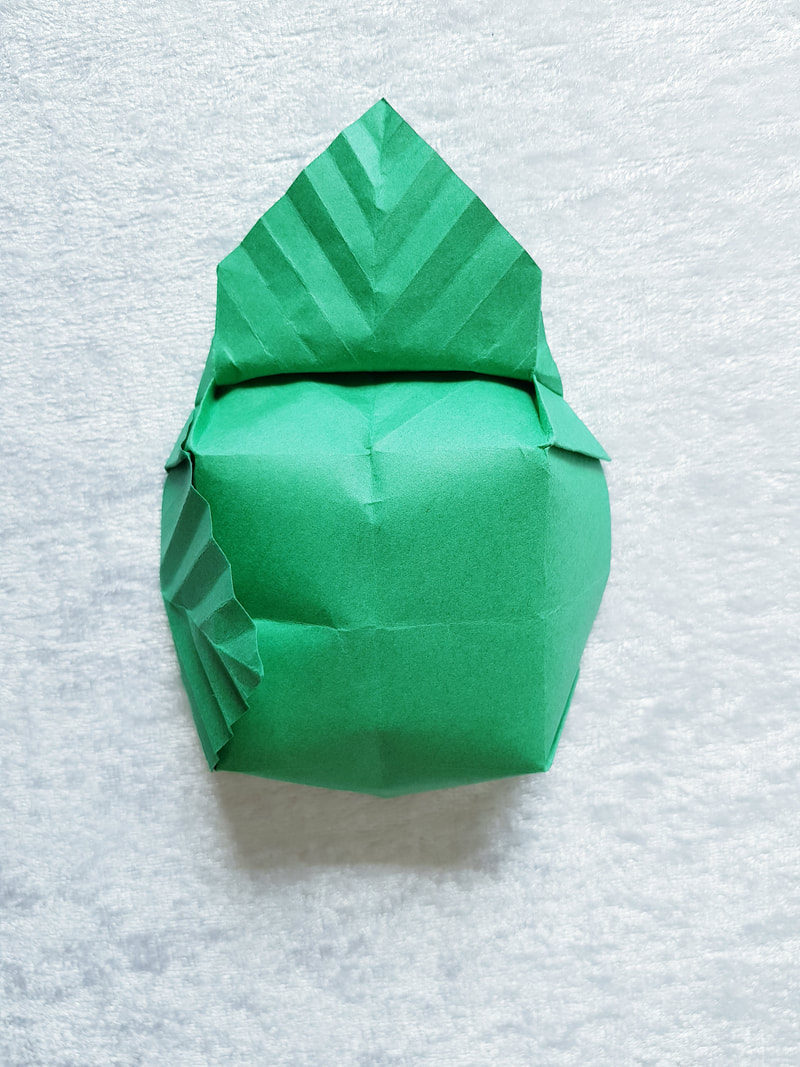
11. Fold the right corner up to the red mark. 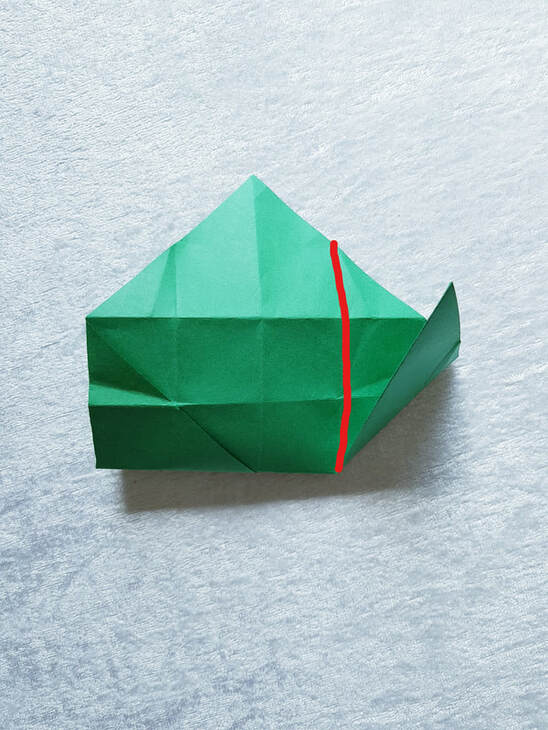 12. Fold the paper as a accordion to make the leaves.
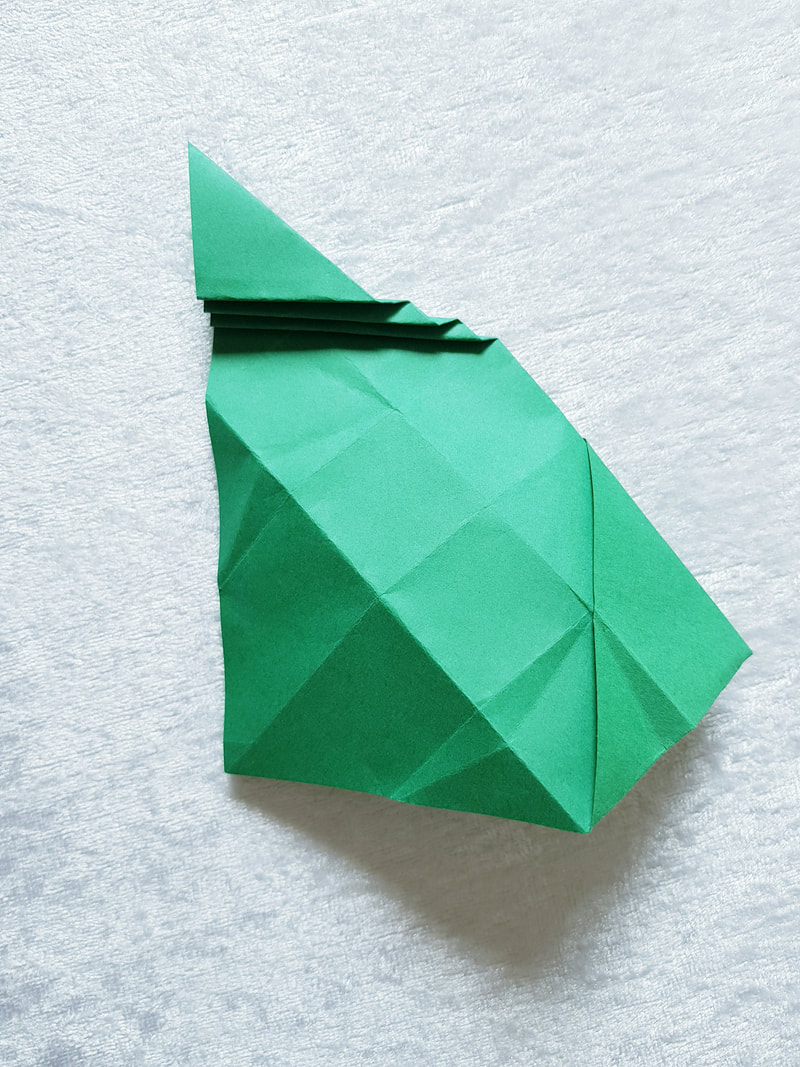
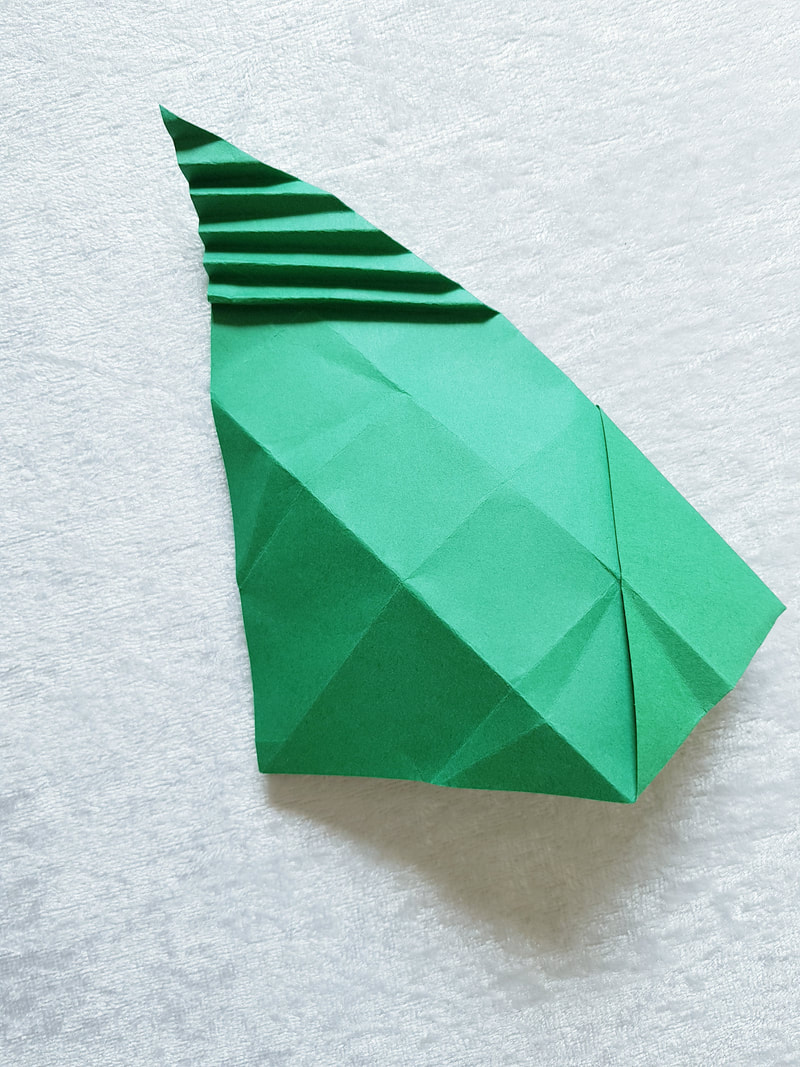
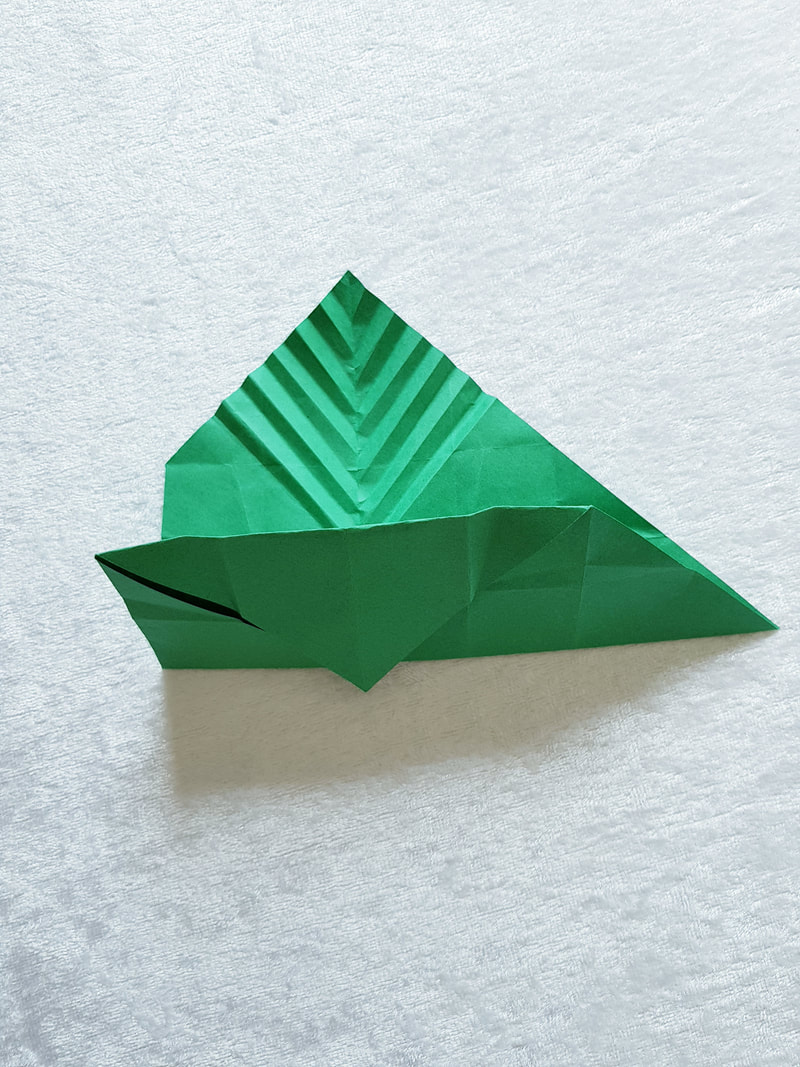
13. Open up the paper and repeat step 10-12 to make the other leaf.
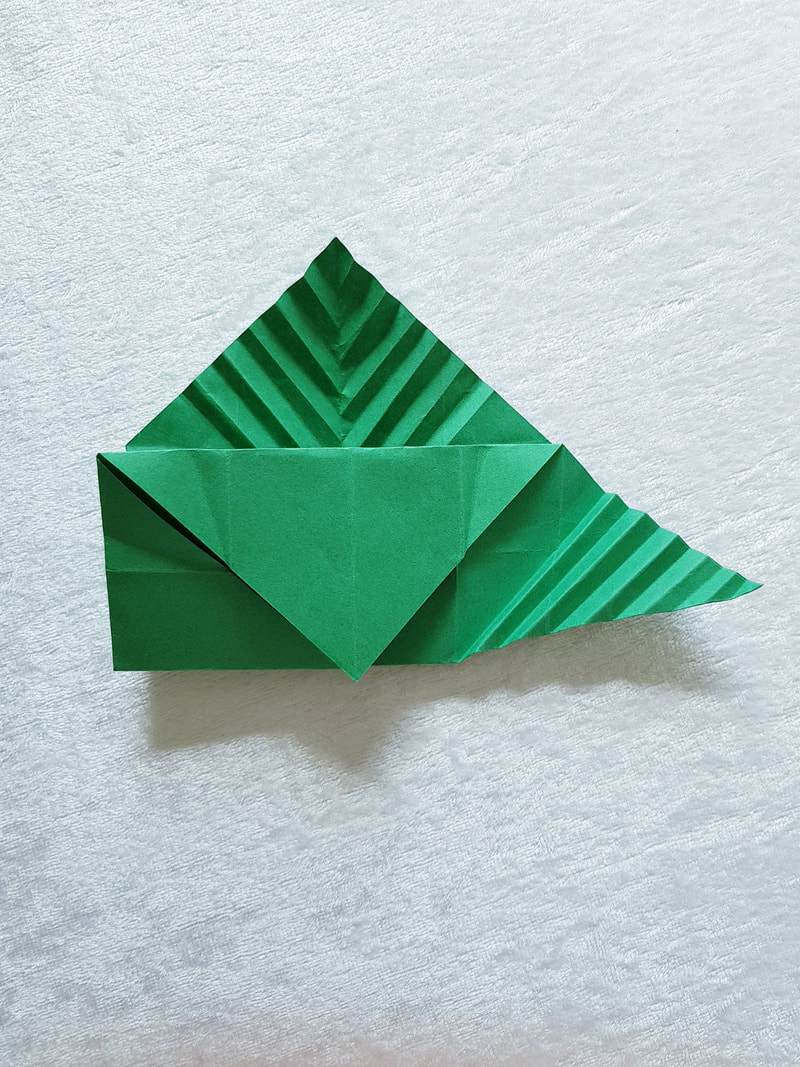
14. Open up the paper and fold in the two flaps in the existing creases.
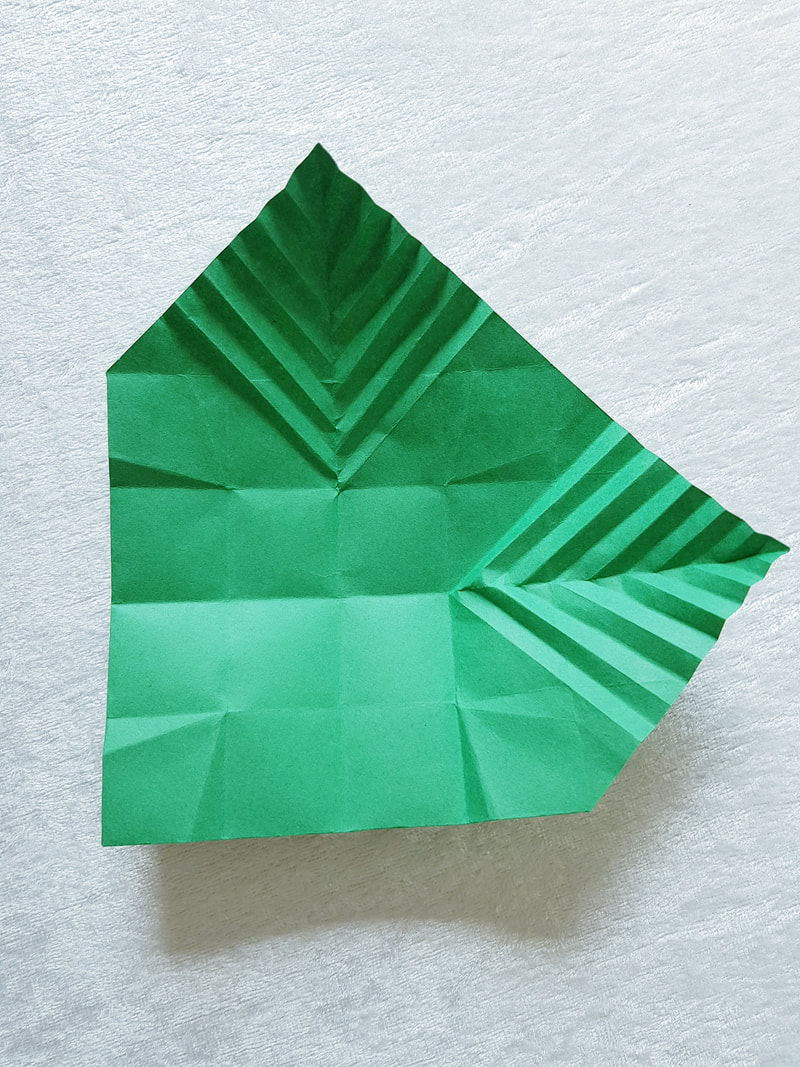
15. Fold the corners on the creases that were made in step 7. Repeat for all corners.
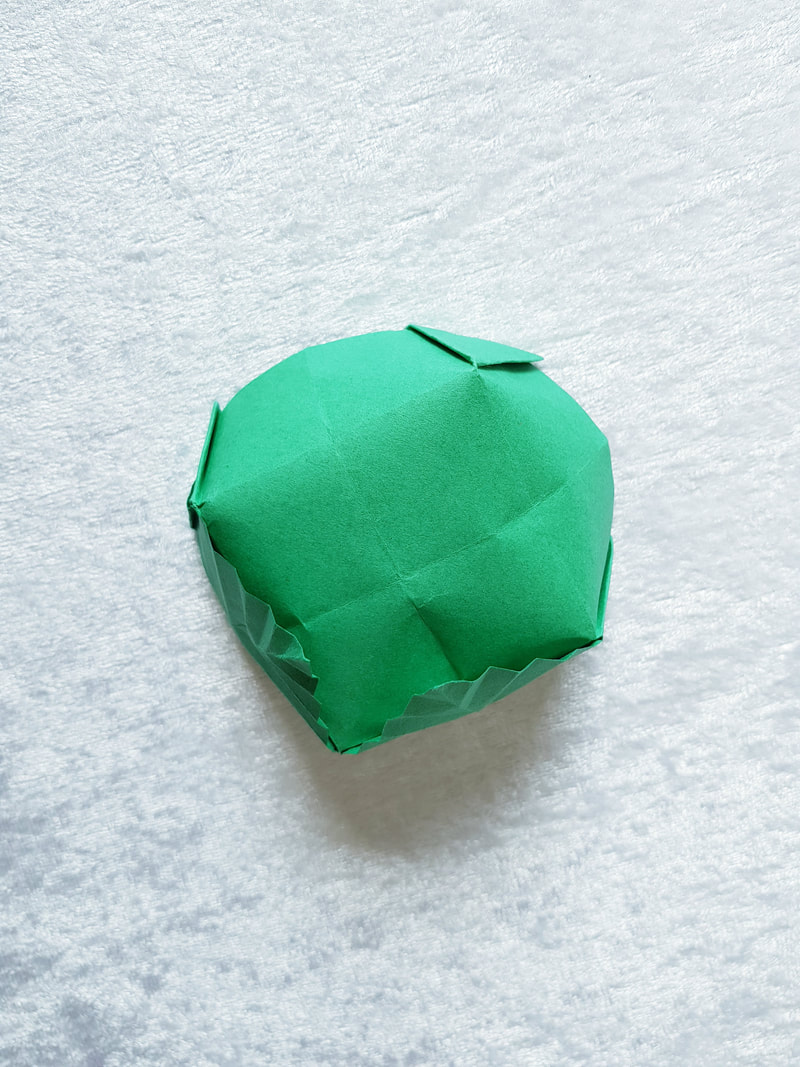
 16. Fold in all the corners inside the base to lock it.
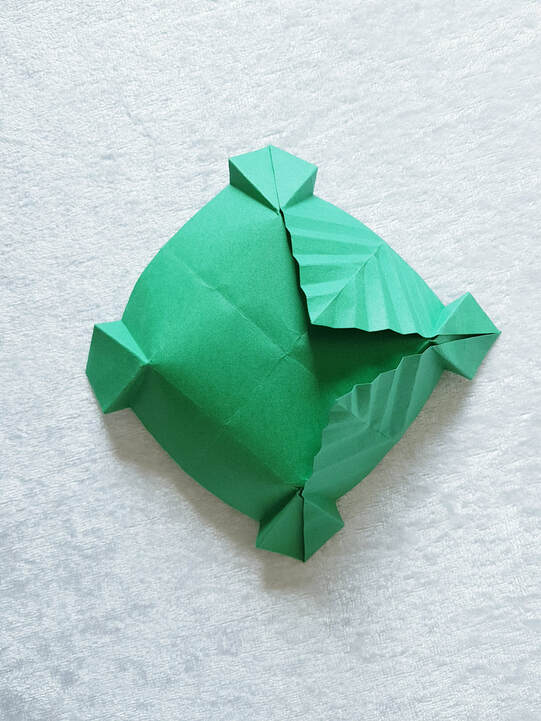
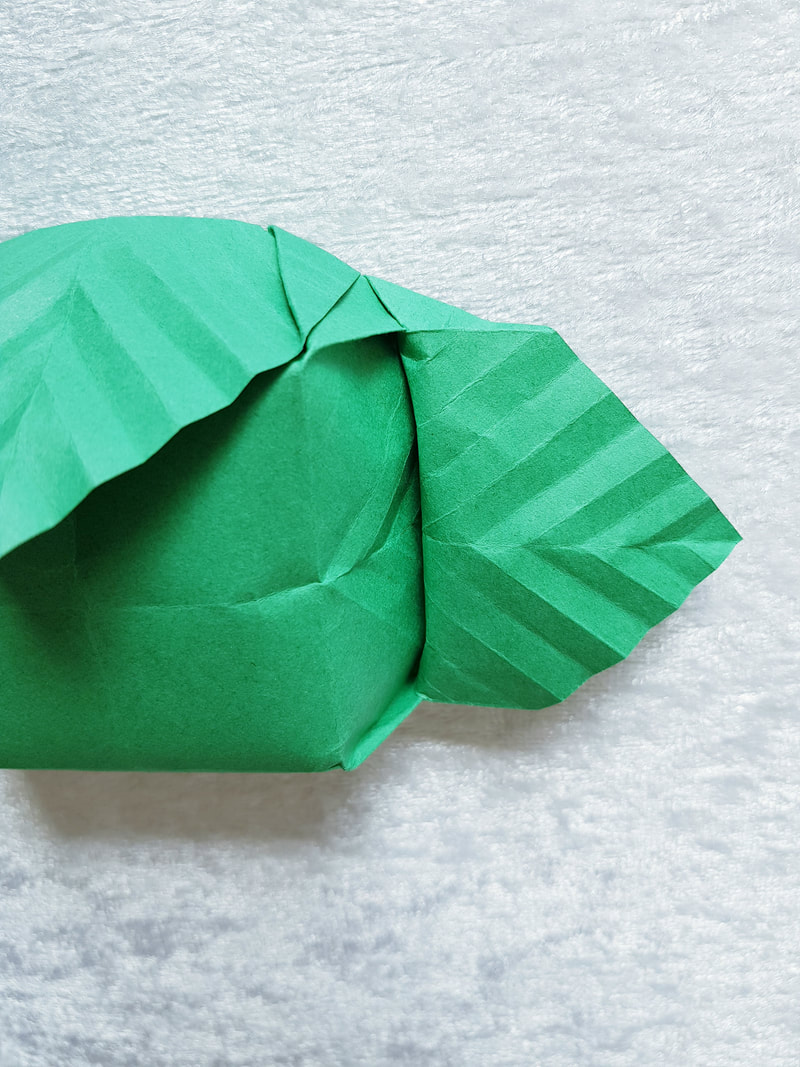
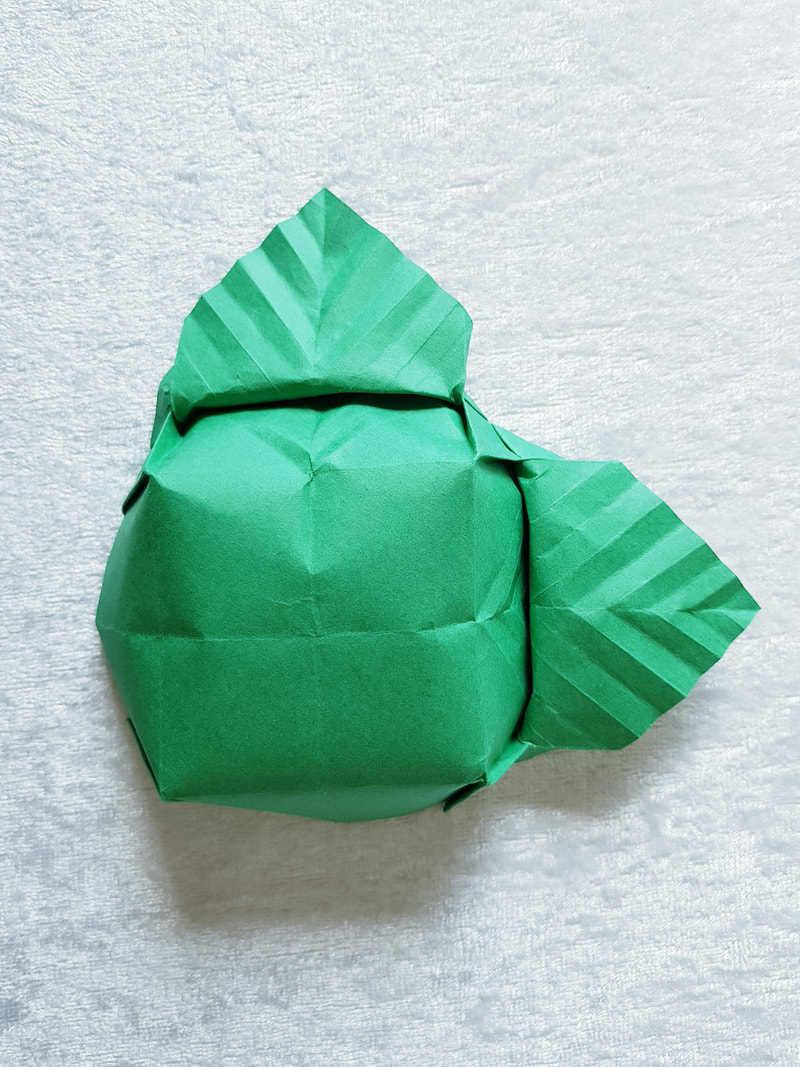
17. Gently pull out the leaves and then press where the red mark are.
18. Now it's time to glue the flowers. Start by gluing them around the bottom and move towards the middle. 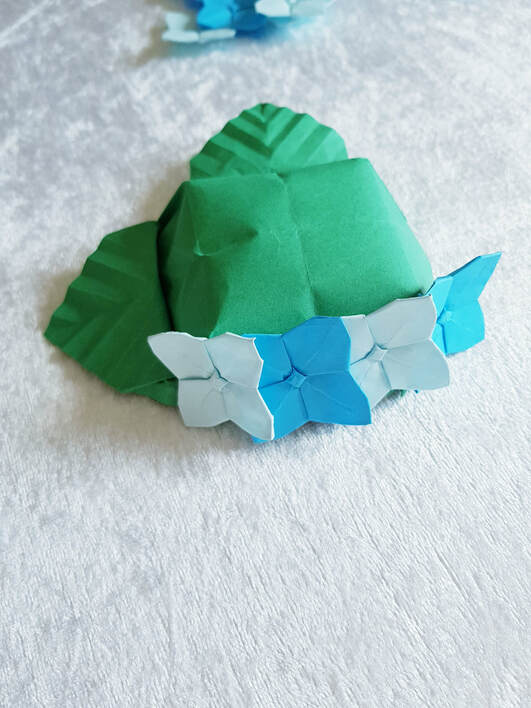 19. The finished result. 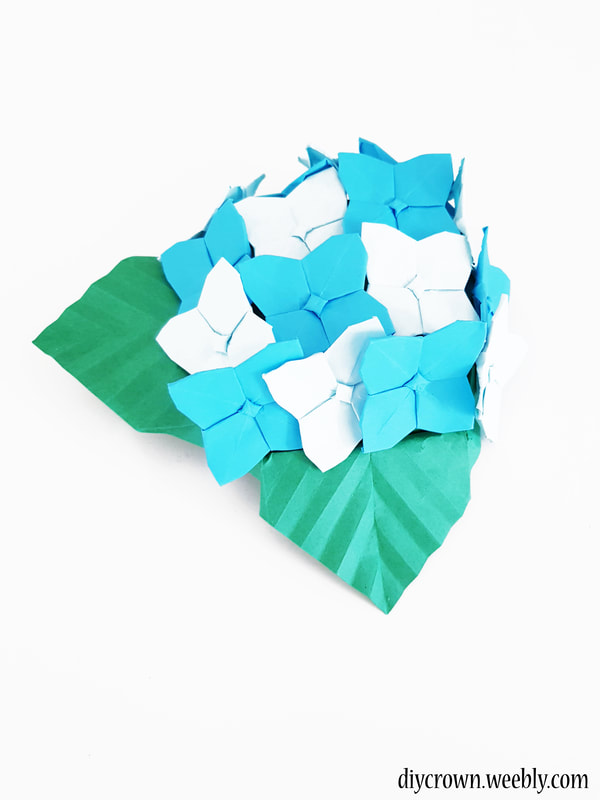 
0 Comments
Leave a Reply. |
Archives
June 2023
Categories
|


 RSS Feed
