
|
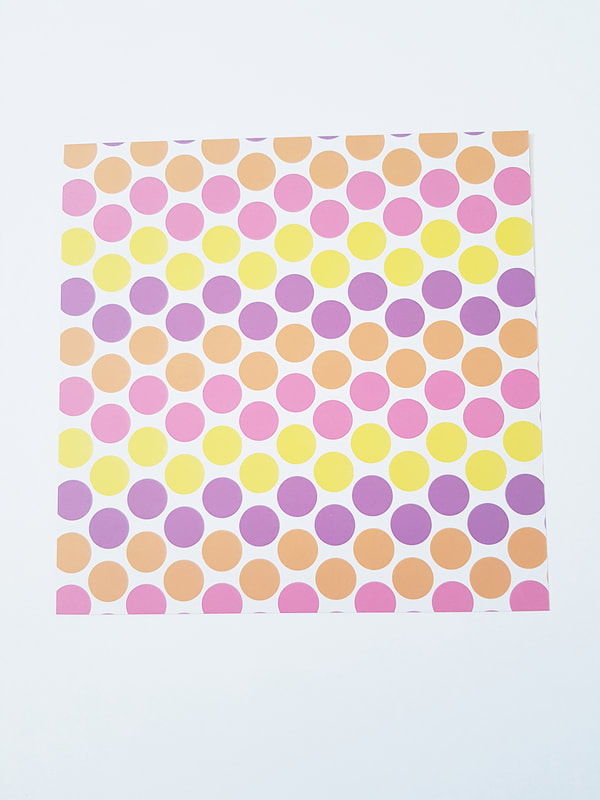
Tutorial on how to make an origami tulip with a stem. Tulips are favorite flowers for many people and are appreciative to receive as a gift. Why not make a bunch of tulips to give to someone or treat yourself with a bunch of tulips? 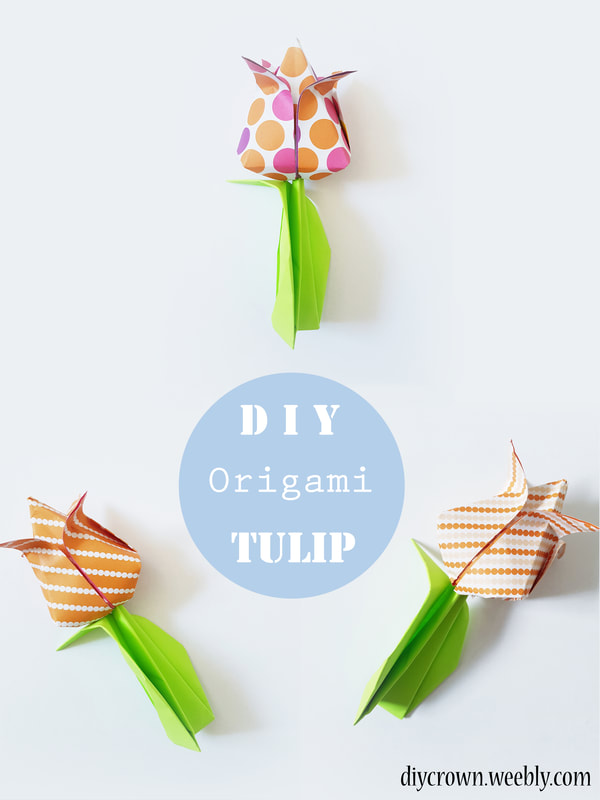 You will need: - 1 sheet of square paper for per flower - 1 sheet of square paper for per stem 1. The colored side of the paper should face downwards. Begin by folding the paper in half and diagonally in both directions. 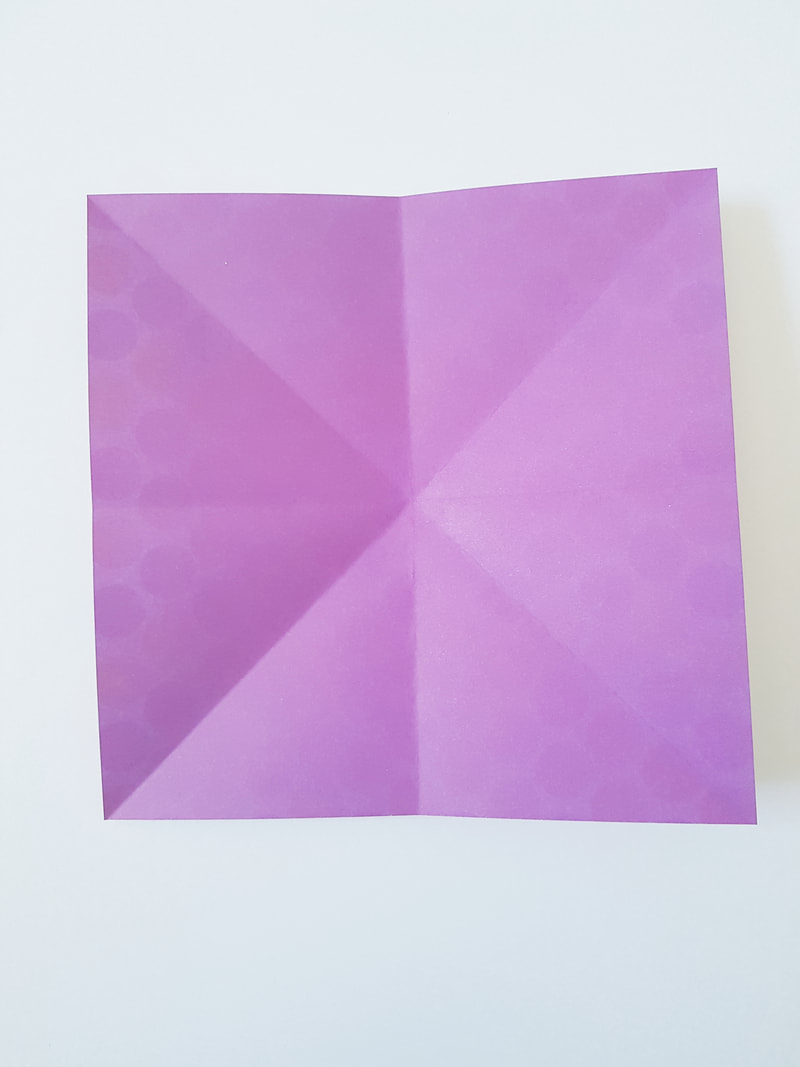 2. Fold the triangles from the side so that one triangle is on top of the other.
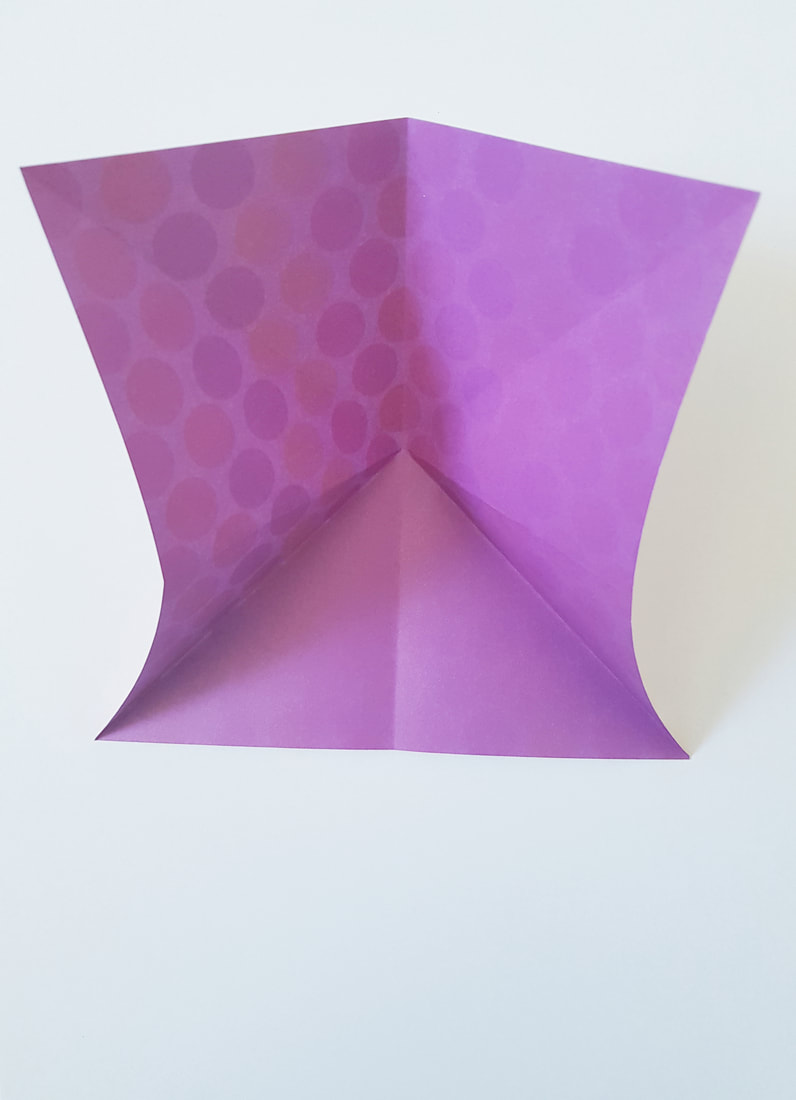
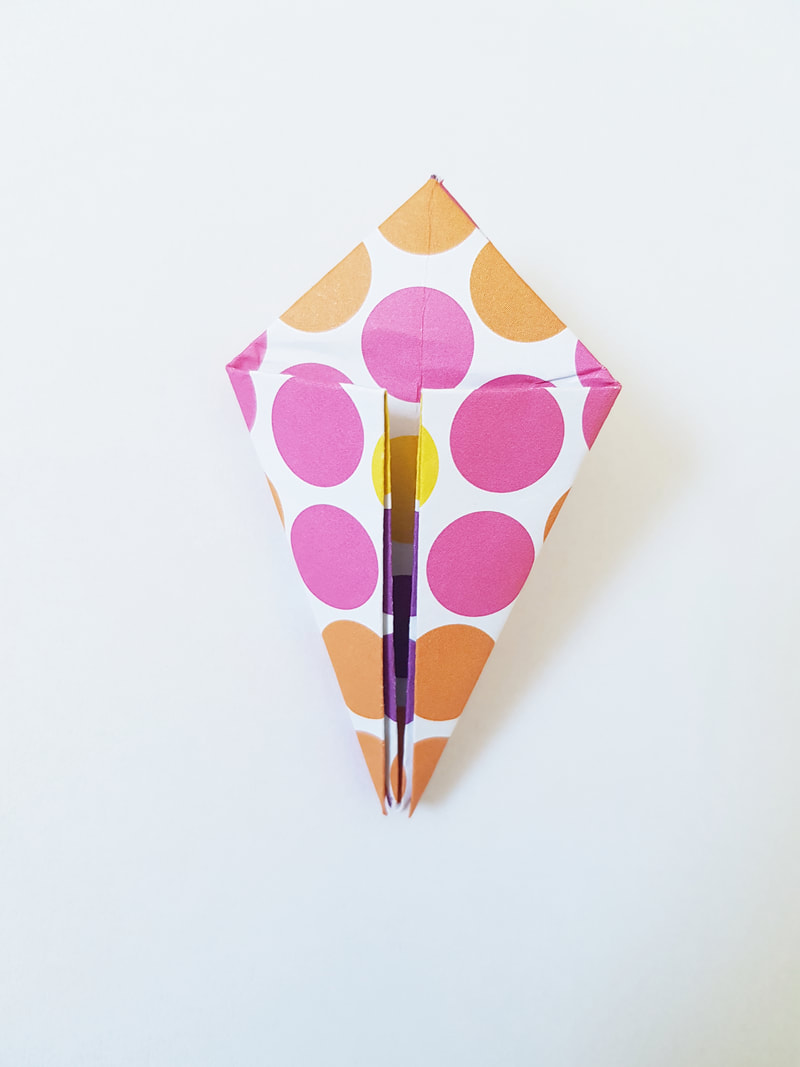
3. Fold both of the lower corners in the top layer upwards. Turn the paper over and repeat on the back. It should look like a square now.  4. Turn over the flap to the other side so that no openings are visible. Turn the paper over and repeat on the other side.  5. Turn the paper 180°. Fold the lower edges in the top layer towards the middle. Repeat on the backside. 6. Open the pocket on one flap and stick the tip of the one next to it inside that flap. Repeat on the backside.  7. Pull the pockets sideways so they open a bit.  8. Place the pockets with the openings downwards against a table and gently press upon them so you get a square shape on the bottom of the tulip. Then begin folding down the petals. 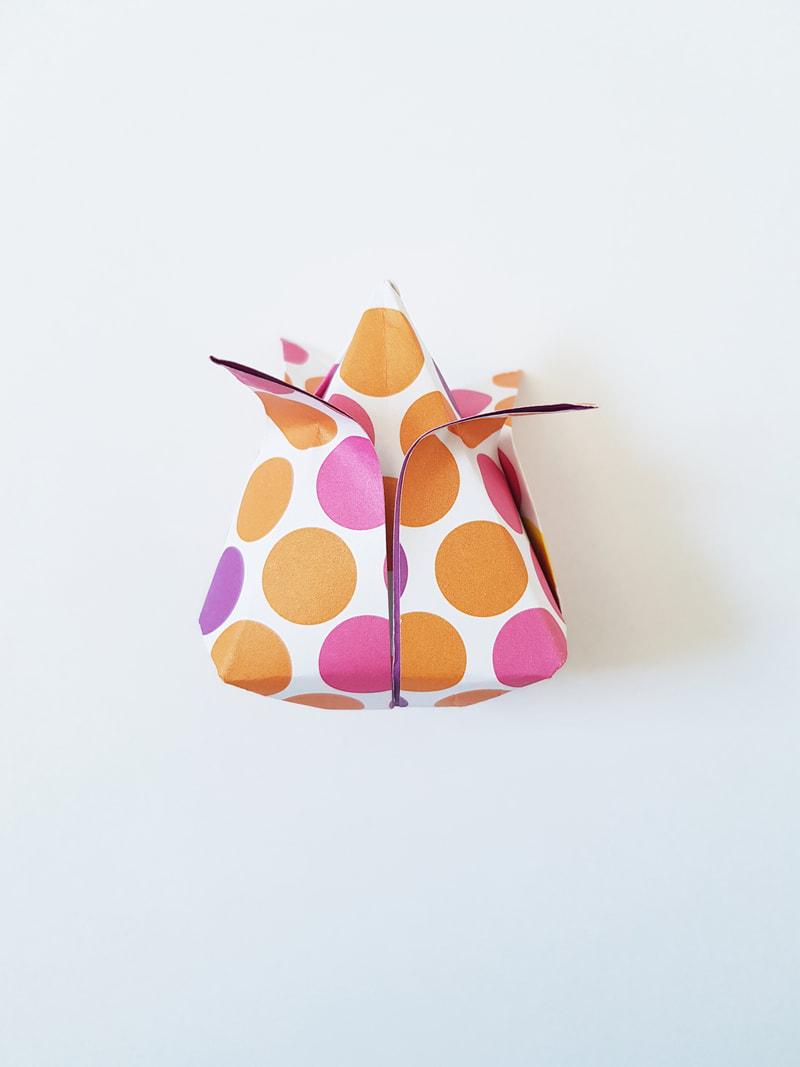 9. Choose paper for the stem. The colored side should face downwards. Fold the paper diagonally and unfold. Fold the top corners towards the middle and then turn the model 180°.
10. Fold the top edges towards the middle.  11. Repeat the previous step and fold the top edges again towards the middle.  12. Turn the model so that the long tip points downwards and turn it over so that the open edges lay against the table. Then proceed with folding the paper in half.  13. Fold the model vertically in half. Unfold the paper a bit like in the picture below. Then stick the tulip in the stem and then your done.  The finished result: 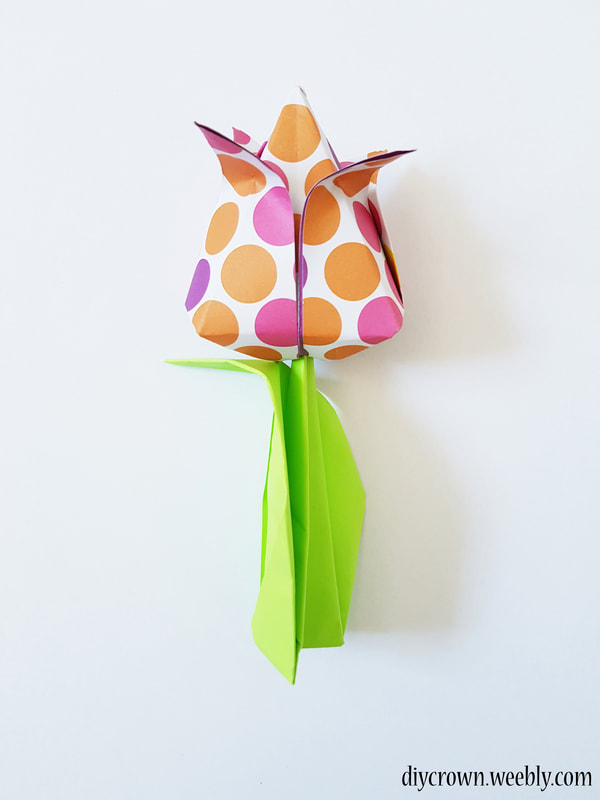
0 Comments
Leave a Reply. |
Archives
June 2023
Categories
|


 RSS Feed
